
Baselining
Viper — Troubleshooting
-
Defrost Barrel or if Barrel is Liquid Turn Barrel OFF
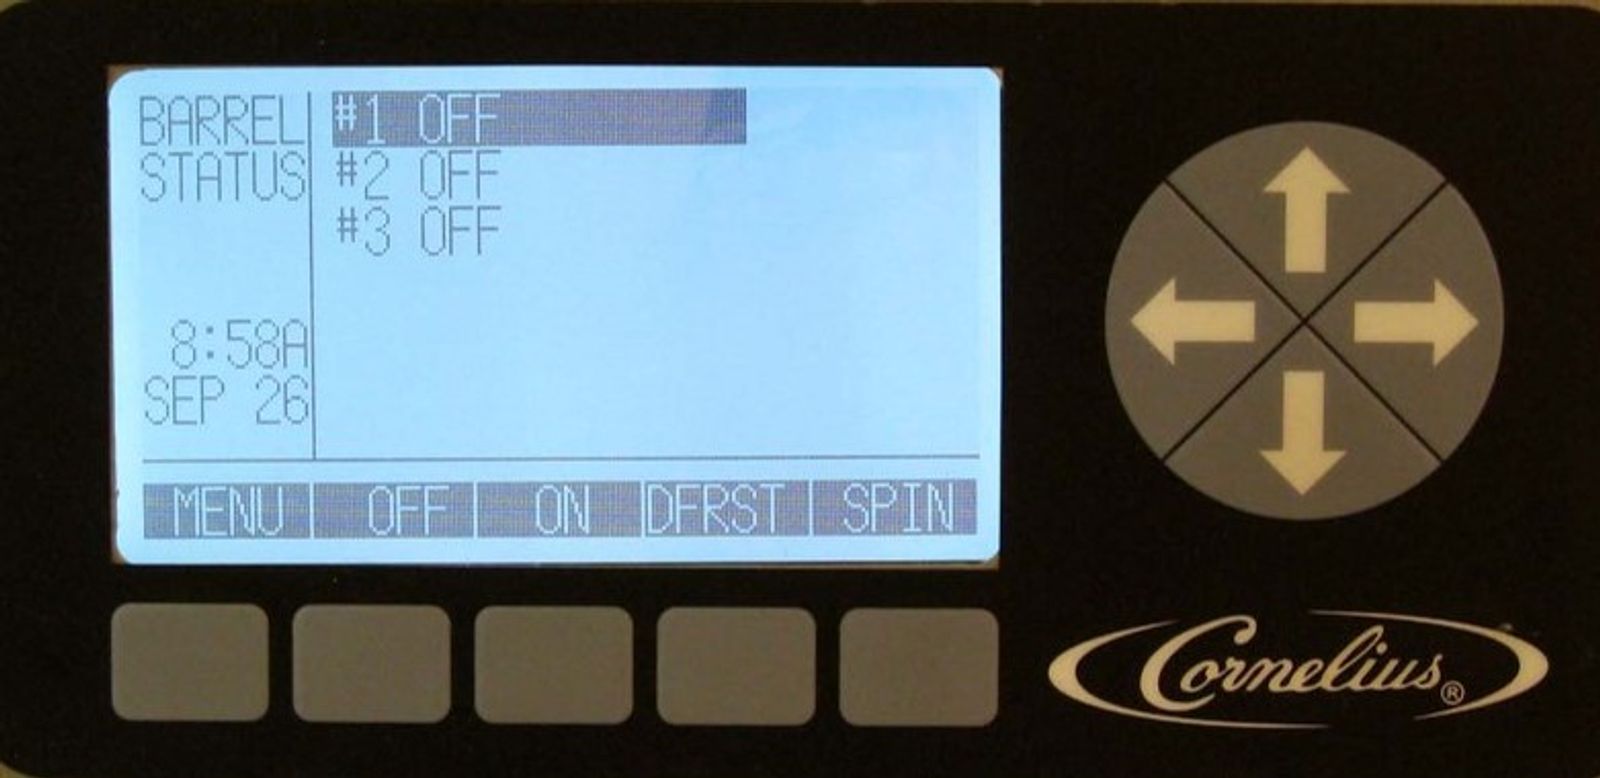
Place the barrel you would like baseline on through two defrost cycles. *If product is liquid, move to step 2.
a. Select off for the barrel you are working on.
b. Select Defrost; the manual defrosts cycle takes 4 minutes. After the first defrost cycle finishes, press defrost one more time to ensure the product is in a liquid state.
-
Purge the product from the barrel
Note: When you activate Purge, it activates the motor and Co2 solenoid. The barrel will not fill during the PURGE process.
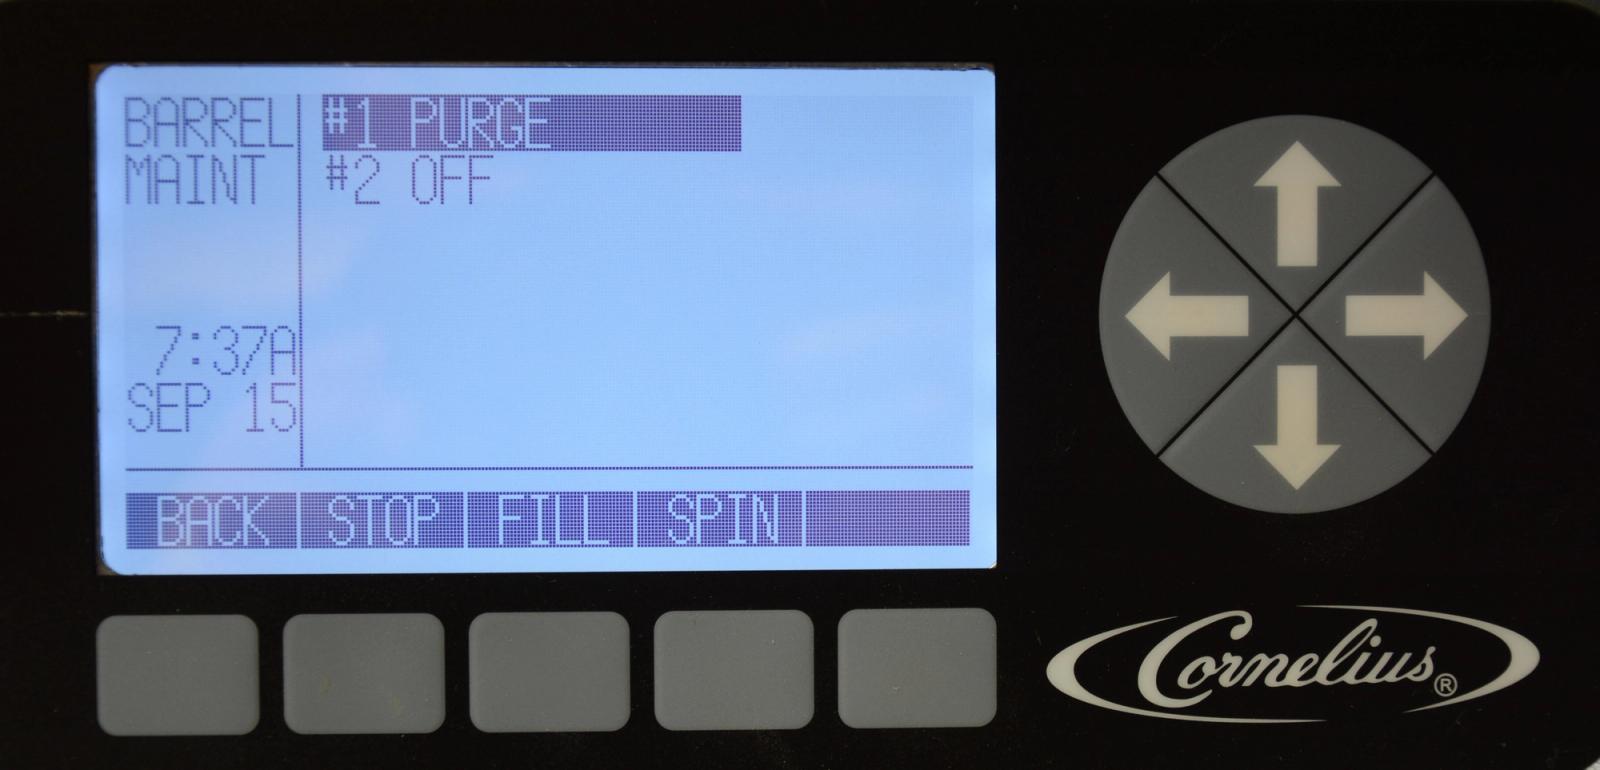
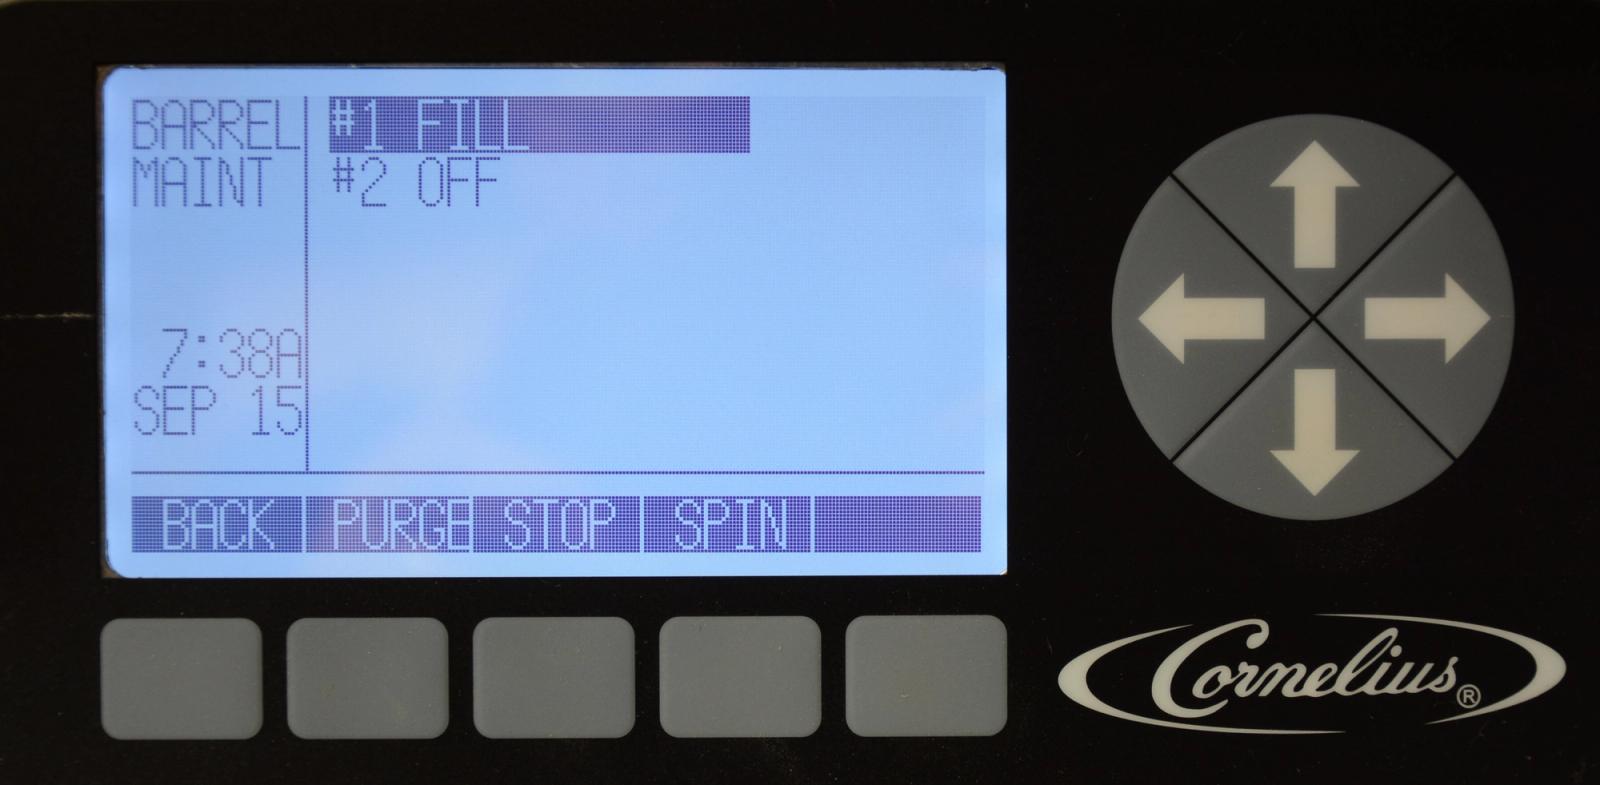
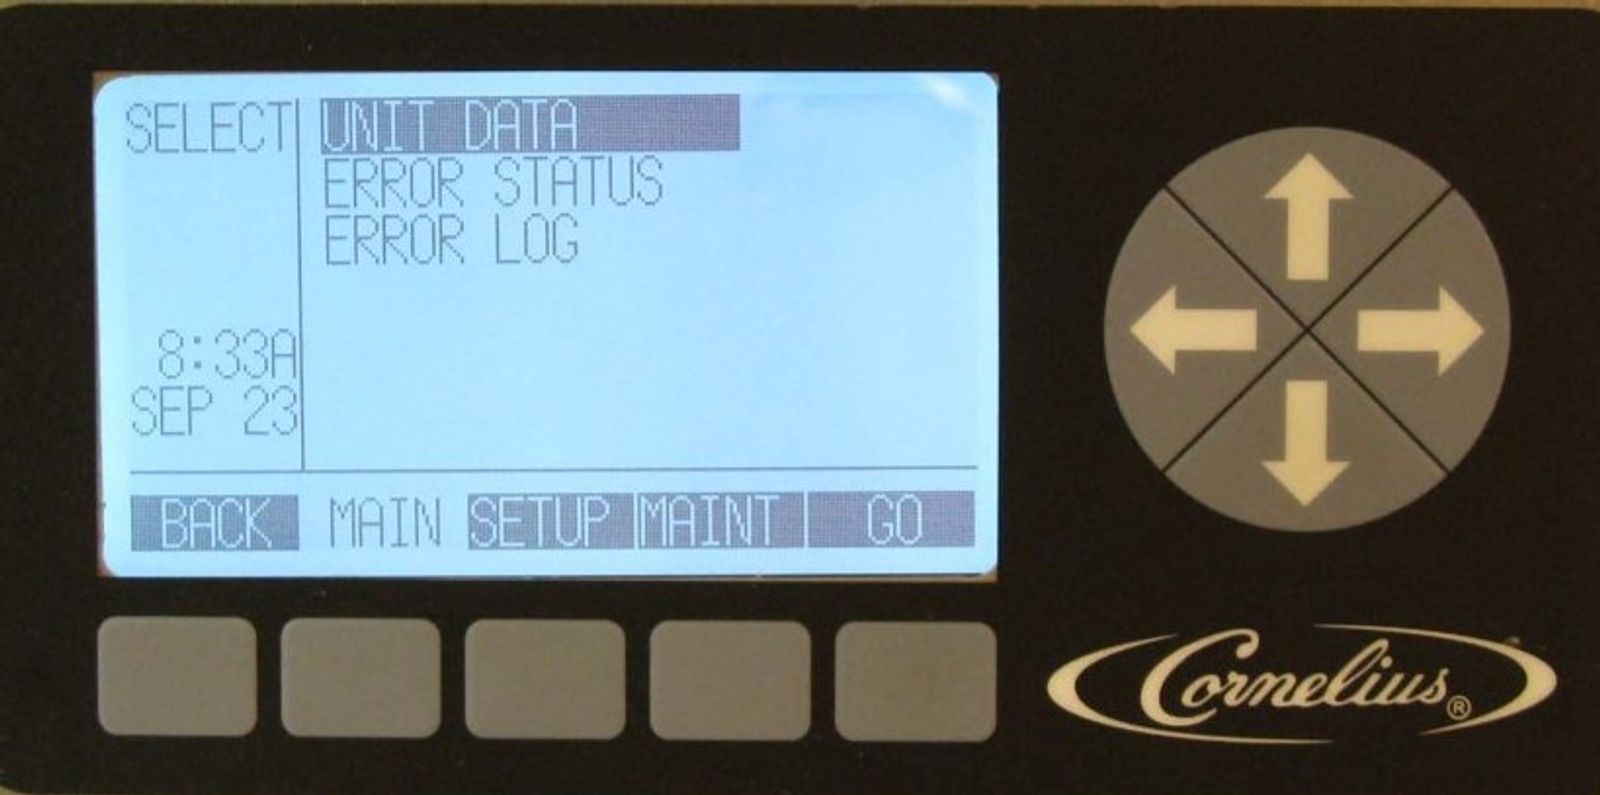
a. Enter the menu, enter the MAINT option, enter the BARREL MAINTENANCE, highlight the barrel you would like to purge and select PURGE. Once the product is purged, turn purge option off.
Note: you won't be able to remove all of the product, the product that is below the dispense point of the valve you will have to remove manually by removing the faceplate.
b. Select STOP to stop the purge process. Once you stop the purge process, actuate the dispense valve to remove the pressure in the barrel.
-
Remove the splash panel
Splash panel is located below the dispense nozzles
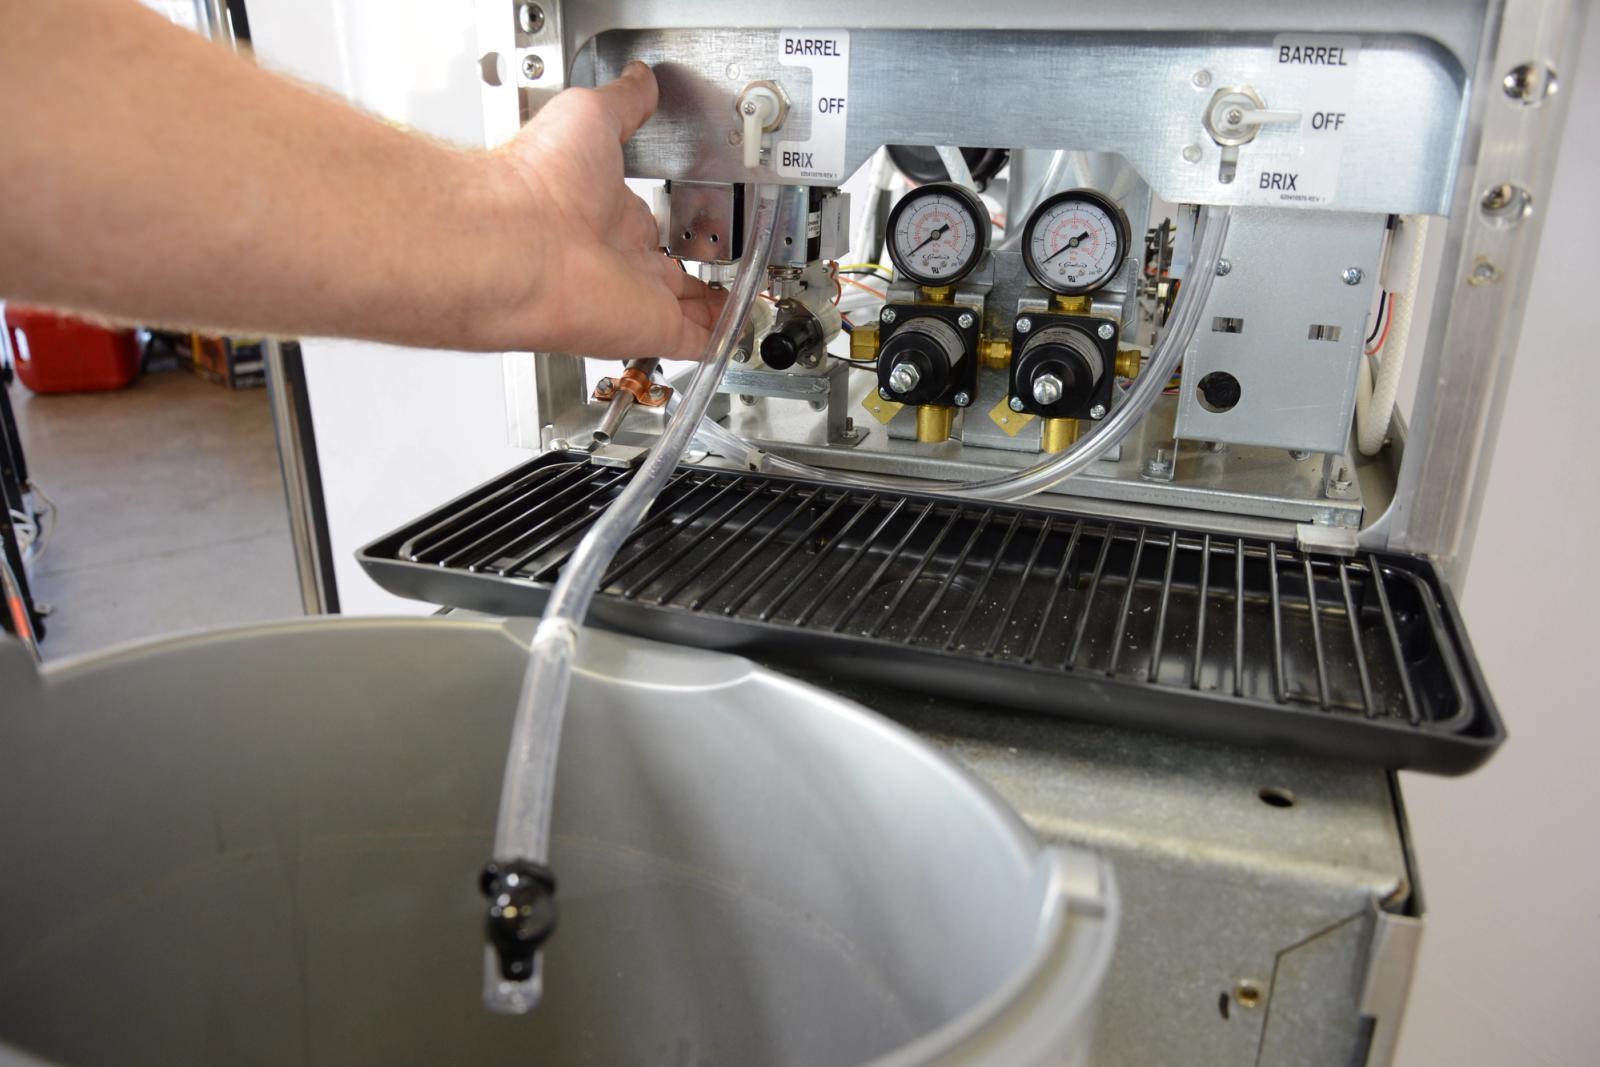
a. Place the sample tube for the barrel you are working on into a large cup or clean container.
b. Turn the 3-way valve for the barrel you are working on to the brix position.
-
Before Brixing the barrels
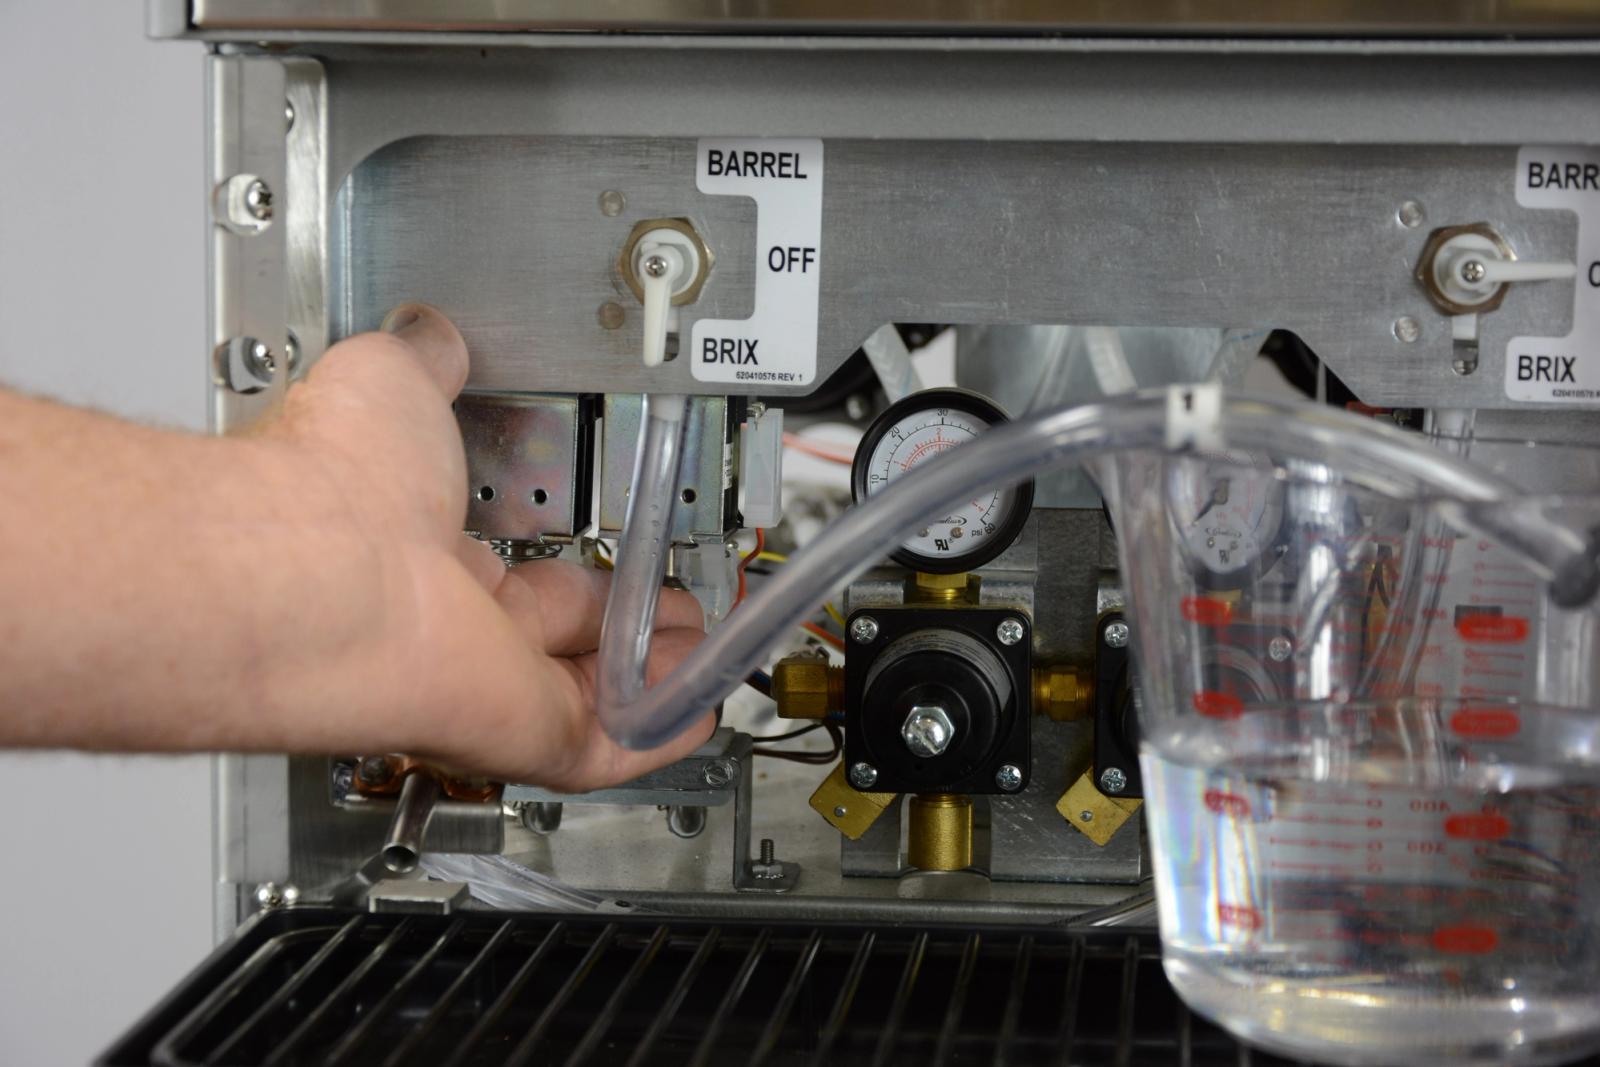
Always check for proper flow rate at the water valve prior to brixing the unit. The water valve must be set/adjusted to 16-17 oz in 10 seconds.
Note: These valves may not be preset and must be checked on every install and baselining.
-
Checking the Brix
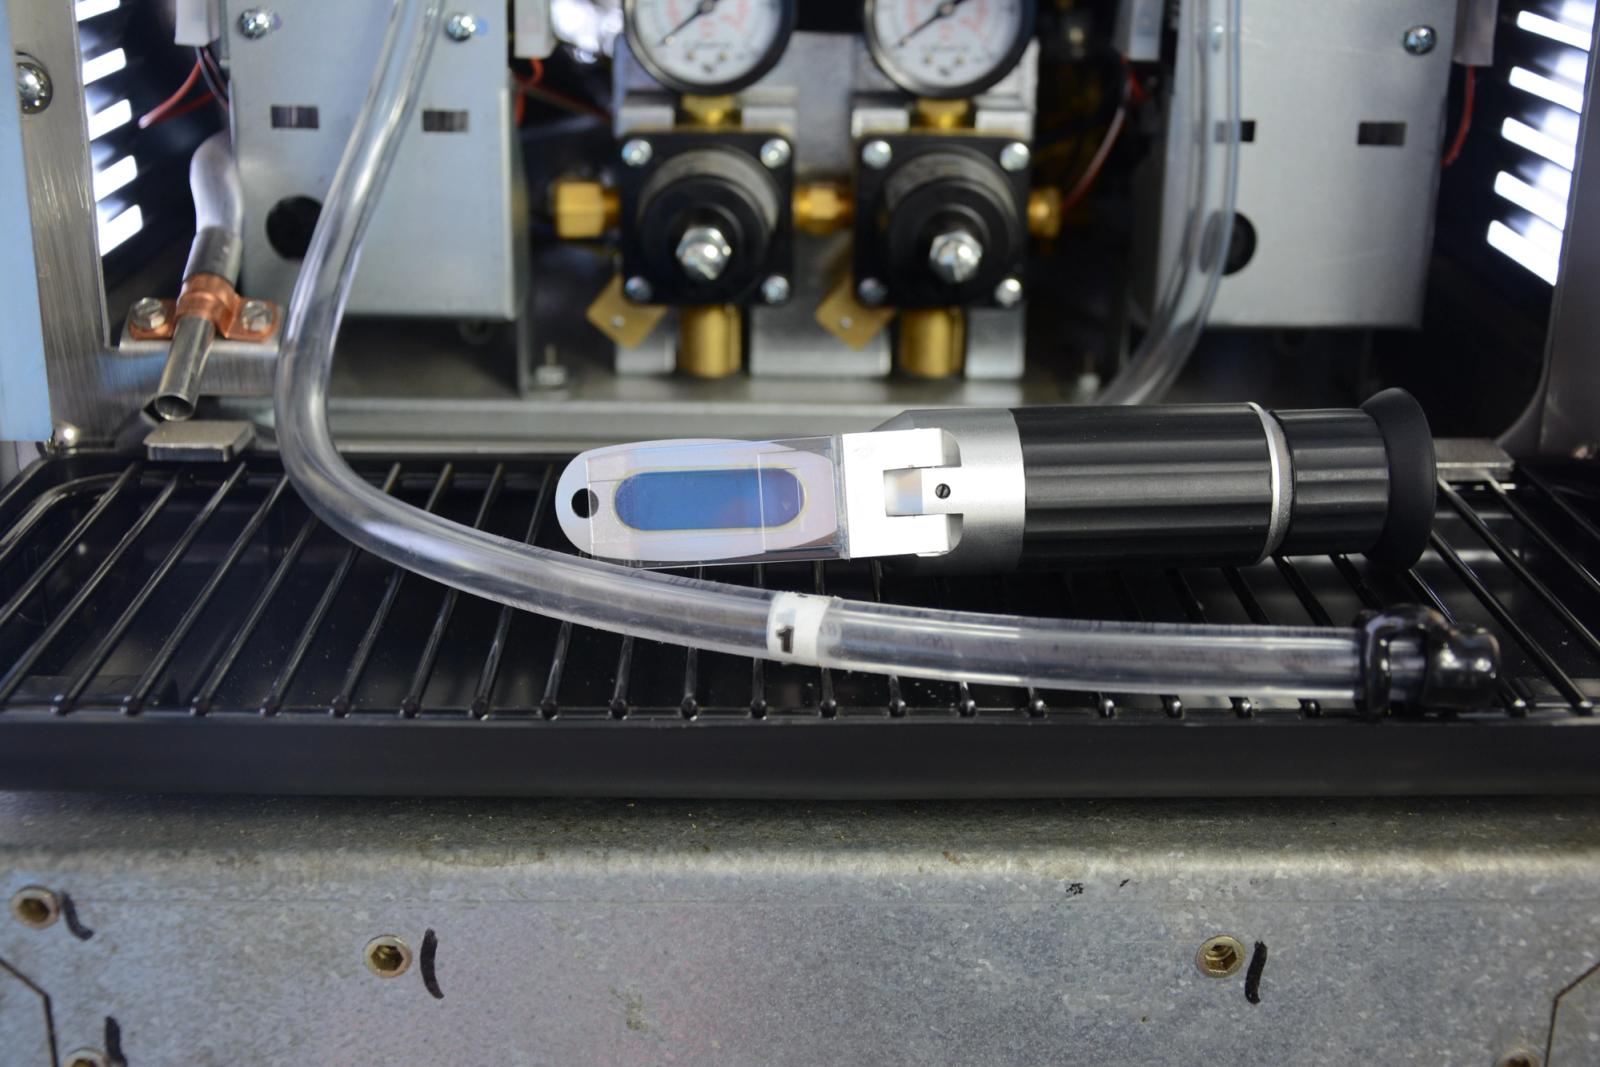
You will need a Refractometer to perform this step.
a. Make sure you calibrate your refractometer before each unit to ensure it is zeroed out. Apply cold plain water to refractometer and it should read 0, adjust if needed.
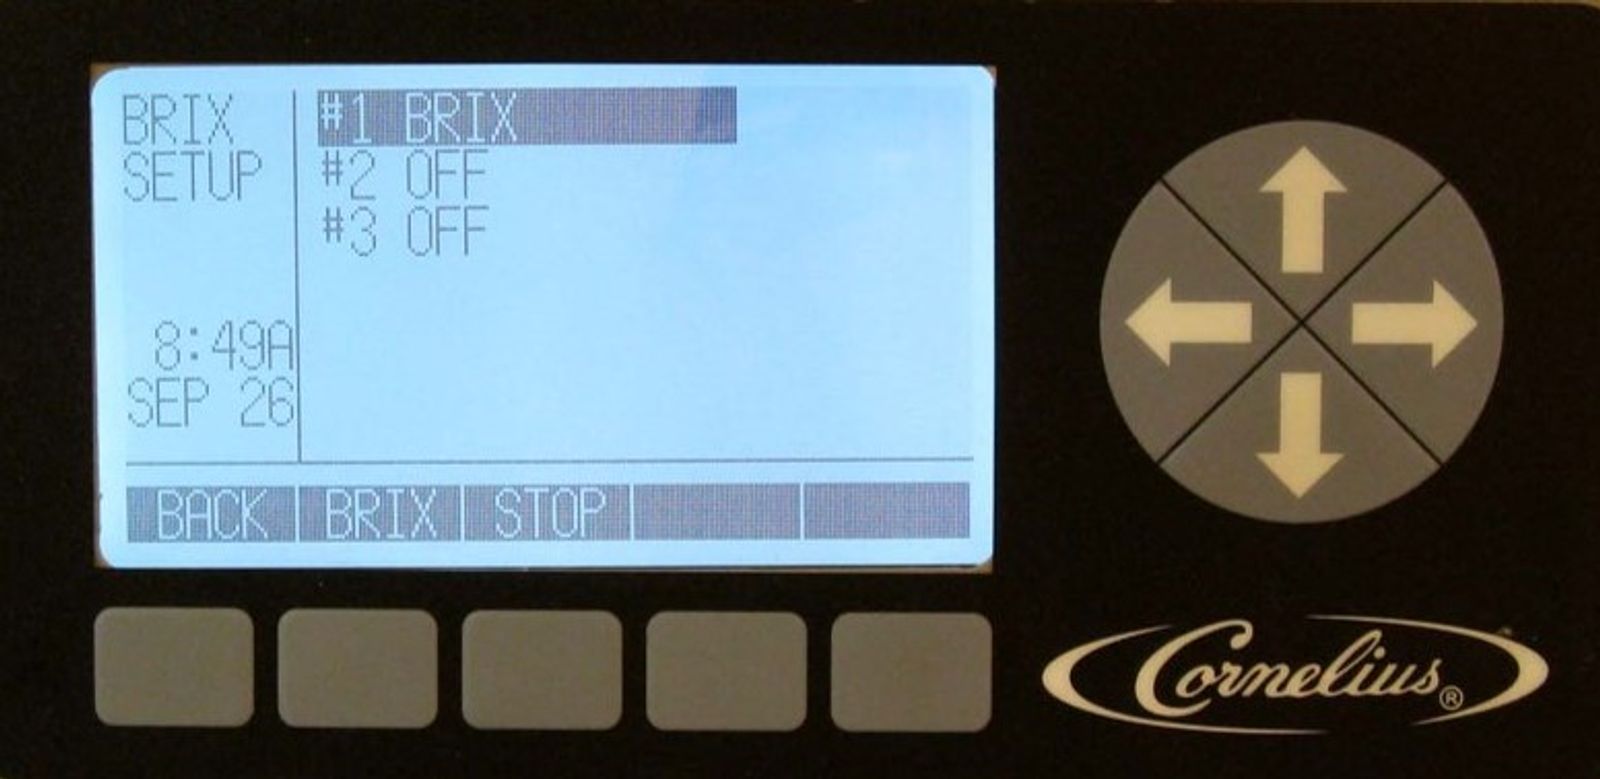
b. Enter the MENU, enter the MAINT option and enter BRIX SETUP
c. Highlight the barrel you are working on and select BRIX, once you press BRIX, it will dispense product out of the sample tube for 3-4 seconds (it stops dispensing on its own)
d. Discard three samples and collect a fourth to take a reading. A standard brix setting is 13 +/- 1 but may change based on the syrup manufacturer.
Note: Cornelius recommends a BRIX of 13.5 – 14.0
-
Adjusting and setting the brix
You will need a Refractometer to perform this step.
a. If you need to make adjustments to your brix you will adjust your syrup flow control; CW to increase your flow and CCW to decrease your flow.
b. Discard 3 samples after each adjustment to let the adjustment take effect. Check your reading on the fourth sample looking for 13.5 - 14.0.
c. Once the proper brix is achieved, flush the sample tube with water by manually activating the water solenoid. You can activate the water valve using your finger or by inserting a flat head pocket screwdriver into the slot in front of the flow control at a 45° angle and push the screwdriver down towards the ground. This will lift up on the solenoid plunger and allow the water to flow. We flush the sample tube with water to ensure the brixed product does not turn into candy over time and it does not attract any unwanted pests.
-
Filling the barrel
Only fill one barrel at a time
a. Enter the menu, select MAINT, select BARREL MAINTENANCE, highlight the barrel you are working on, select FILL. Let the barrel fill, as it stops filling, relieve the pressure slowly using the relief valve on the faceplate, release the relief valve as it starts to fill and continue until the barrel is filled to a ½” below the top of the barrel. Once complete, hit stop.
-
Calibrate the motor.
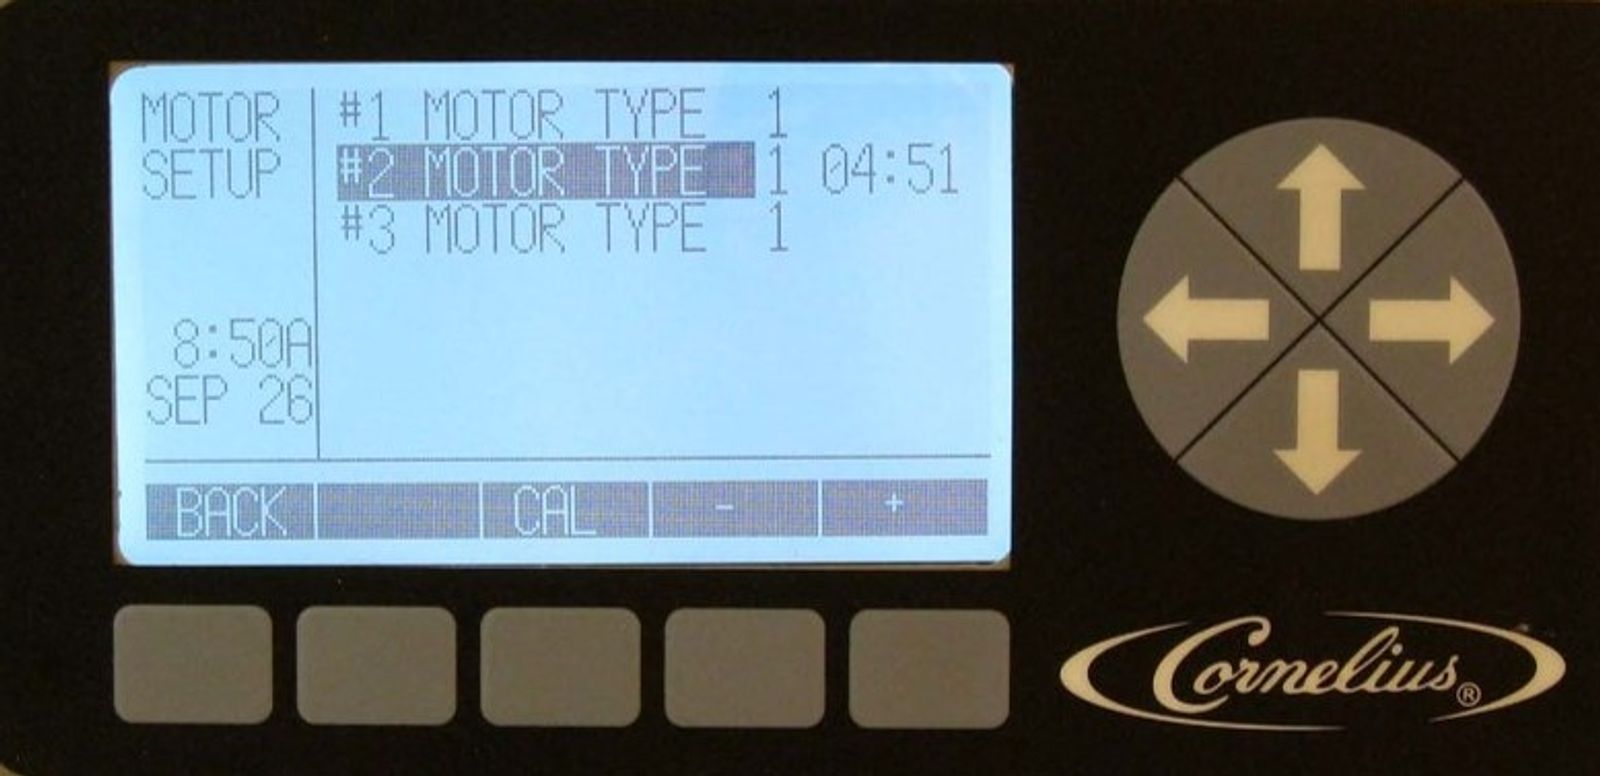
a. Enter the menu, select MAINT, select MOTOR SETUP, highlight the barrel you are working on and select CAL. Let the barrel calibrate itself, this process will take 5 minutes
-
Check and verify all of your settings
Viscosity set 4, Syrup type, Defrost lockouts, Date and Time, etc.
-
Placing barrel into freeze mode
a. Highlight the barrel you are working on and select ON to freeze Barrel.
b. Viscosity readout on the display should be between 17-22 on initial startup and slowly increase and the product freezes.
c. Make sure the product is of good quality once the freeze cycle is completed.
-
Settings are as follow…
Co2 – 2 secondary regulators; one feeding the Viper unit at 75Psi and one to the FCB BIB pumps set at 75Psi
Secondary Co2 Regulators (behind splash panel) – 36-38psi to achieve 100% overrun
Water – 50-60Psi
Viscosity – default of 4
Motor – Type 1 (60 Hz) Type 2 (50Hz)
Brix – 13.5 – 14.0Exp
Expansion Tank Reg (side of unit) – 30Psi