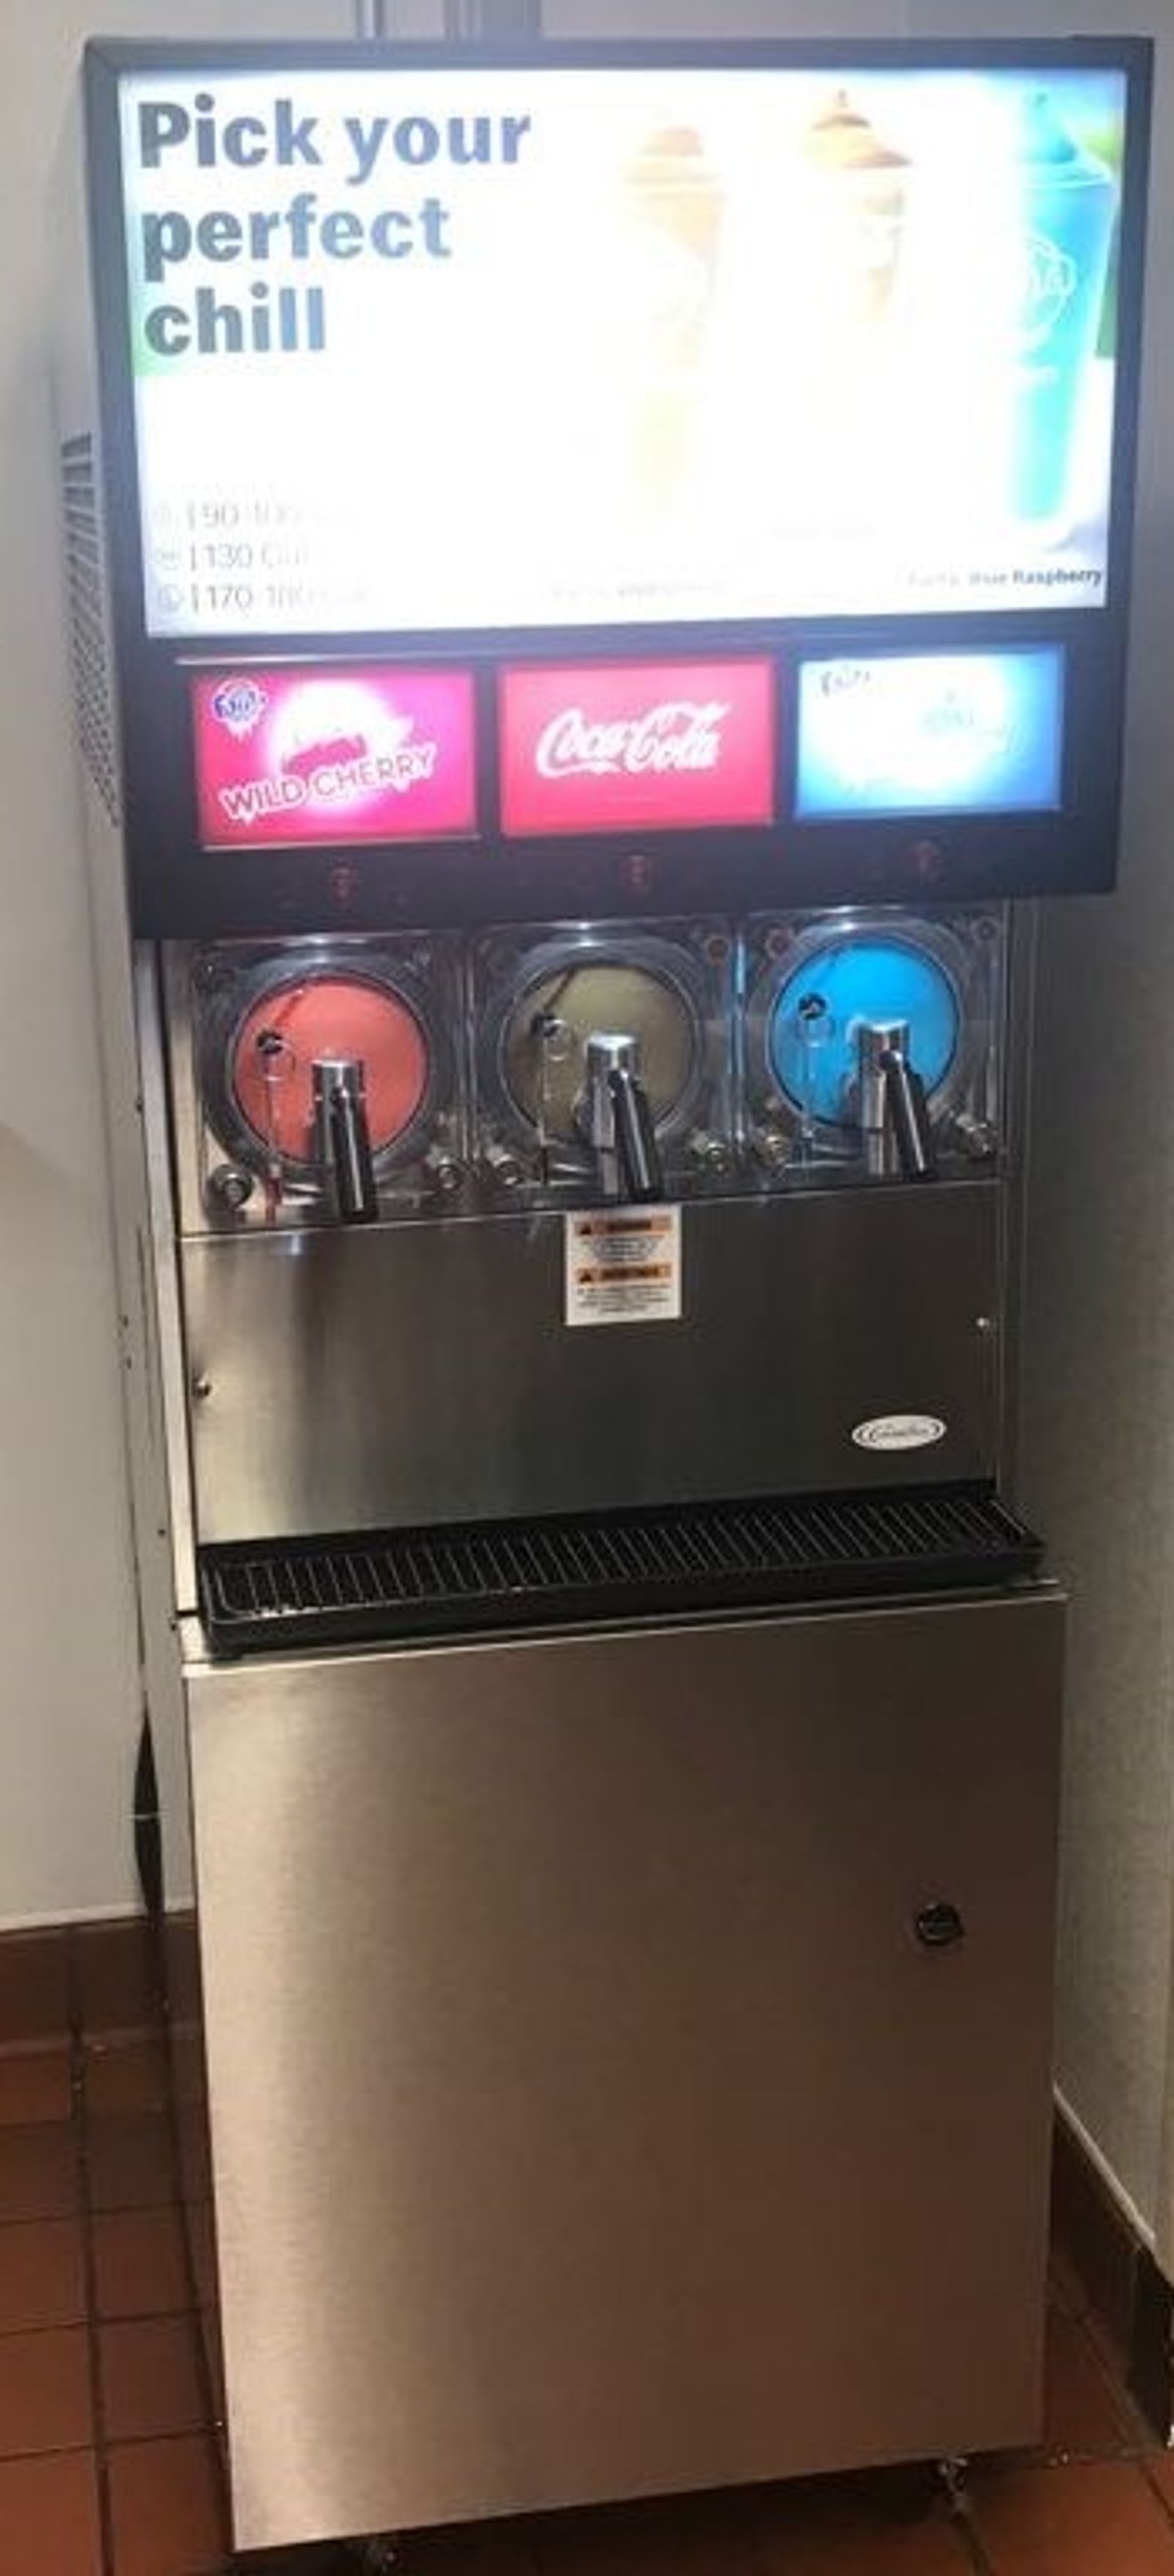
Unit Location
Viper — Installation
-
Counter Installation
The counter must be capable of supporting a minimum of 500 pounds. The recommended clearance for airflow is 2 inches in the back and 12 inches on the top of the Viper. If both sides of the Viper have a clearance of 2”, then the Viper may be flush to the wall in the back.
If being placed into a cubby, recess or enclosed area, that area should have proper ventilation to remove hot air discharged from the viper and not allow it to circulate it back into the area/unit.
The hot air from the viper should NOT be able to recirculate back into the installation area as the refrigeration of the unit will not work properly.
Note: take proper precaution to avoid scratching the counter when sliding the Viper into place. A table lift capable of supporting 500+ lbs. is recommended.
-
Leg Installation
When a Viper is to be installed with legs, only use the leg kit provided from the factory. The use of any other legs may not be sufficient to support the weight of a Viper. Install the legs into the threaded holes provided in the bottom of the Viper. The legs can be adjusted from 2”-4”
Note: take proper precaution to avoid scratching the counter when sliding the Viper into place.

-
Cart Installation
The Viper unit can be mounted on a mobile cart from the factory which allows movement of the Viper for service and cleaning. There are four captive nuts (3/8-16) as part of the Viper frame to secure unit to the cart. A 2 flavor cart is designed with movable front wheels that act as outriggers to provide further stability. Supply connections (CO2, water and Syrup) for the Viper can be routed up thru the openings in top of the cart and thru bottom of the Viper. Supply connections can also be routed through the back of the viper.