Commissioning the Unit
Viper — Installation
-
Pressurize Water System
It is important to prime the water pump prior to engaging Co2. Failure to do so may result in premature pump failure.
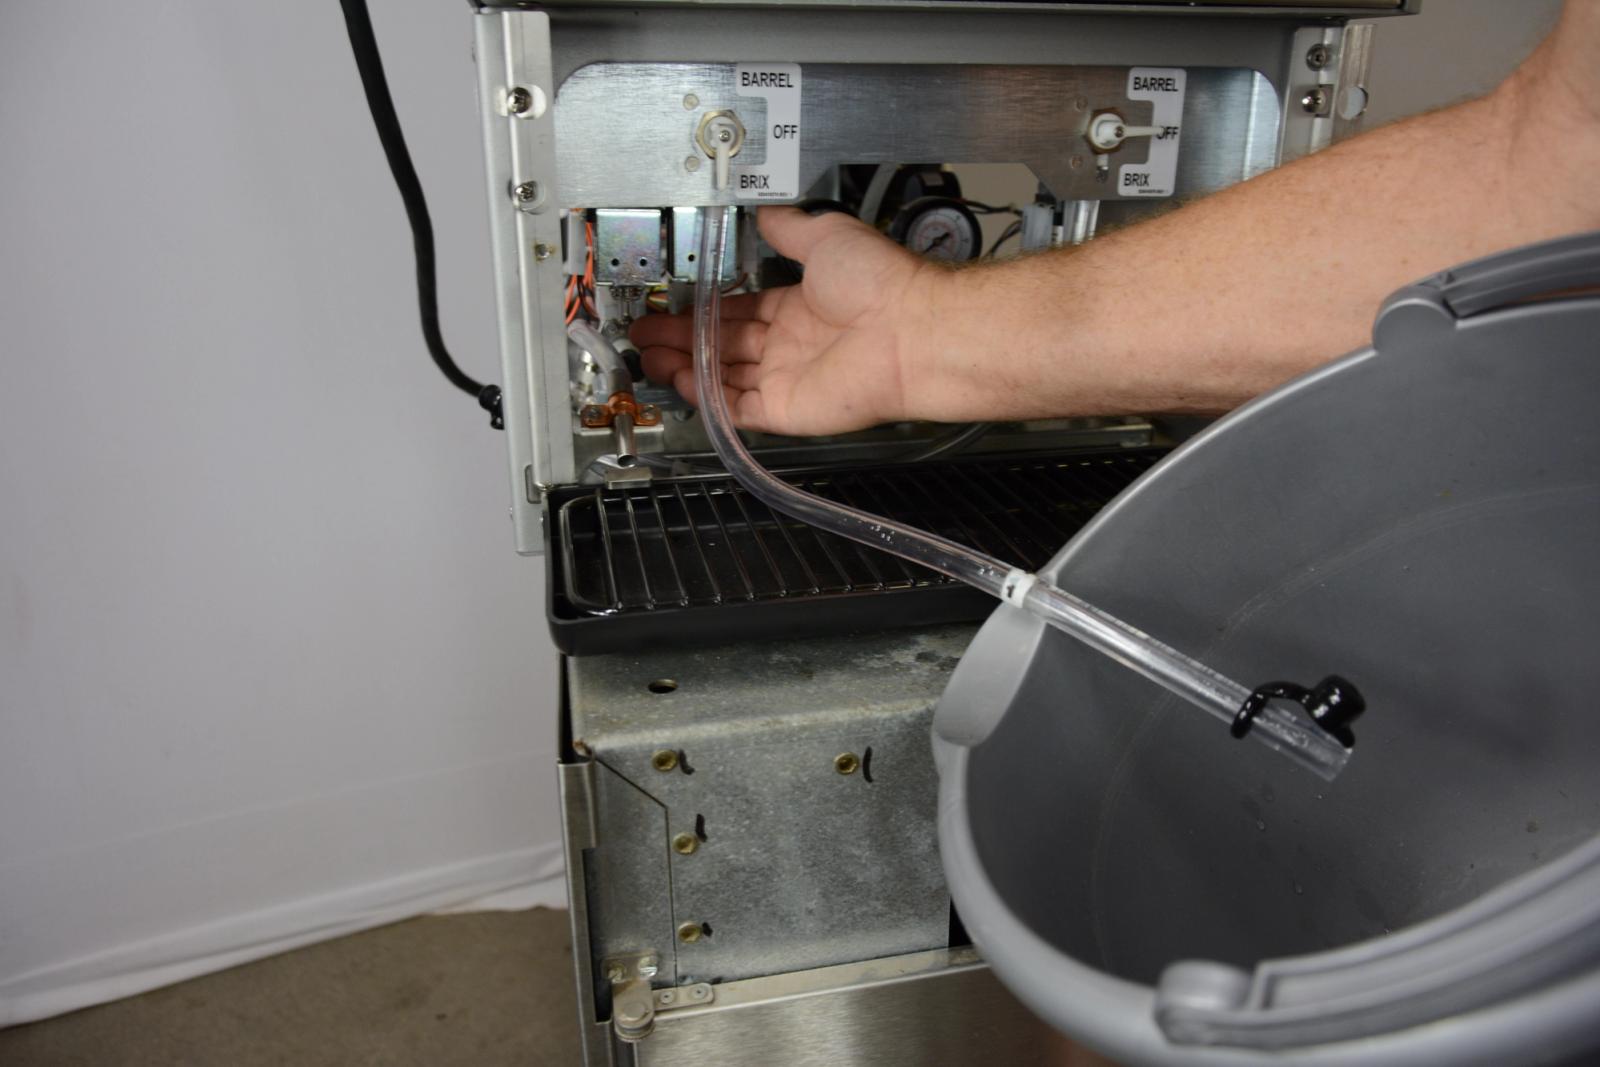
To pressurize and prime the water on the Viper, turn on the water supply and check the system for leaks. Next turn the three-way valve to the brix position (down), remove the cap at the end of the sample tube and place the tube in a bucket. Manually lift up on the water valve coil plunger to purge air from the system and prime with water until you have a steady flow. Return the three-way valve to the off position when done. Repeat this for each of the water valves.
-
Pressurizing Syrup System
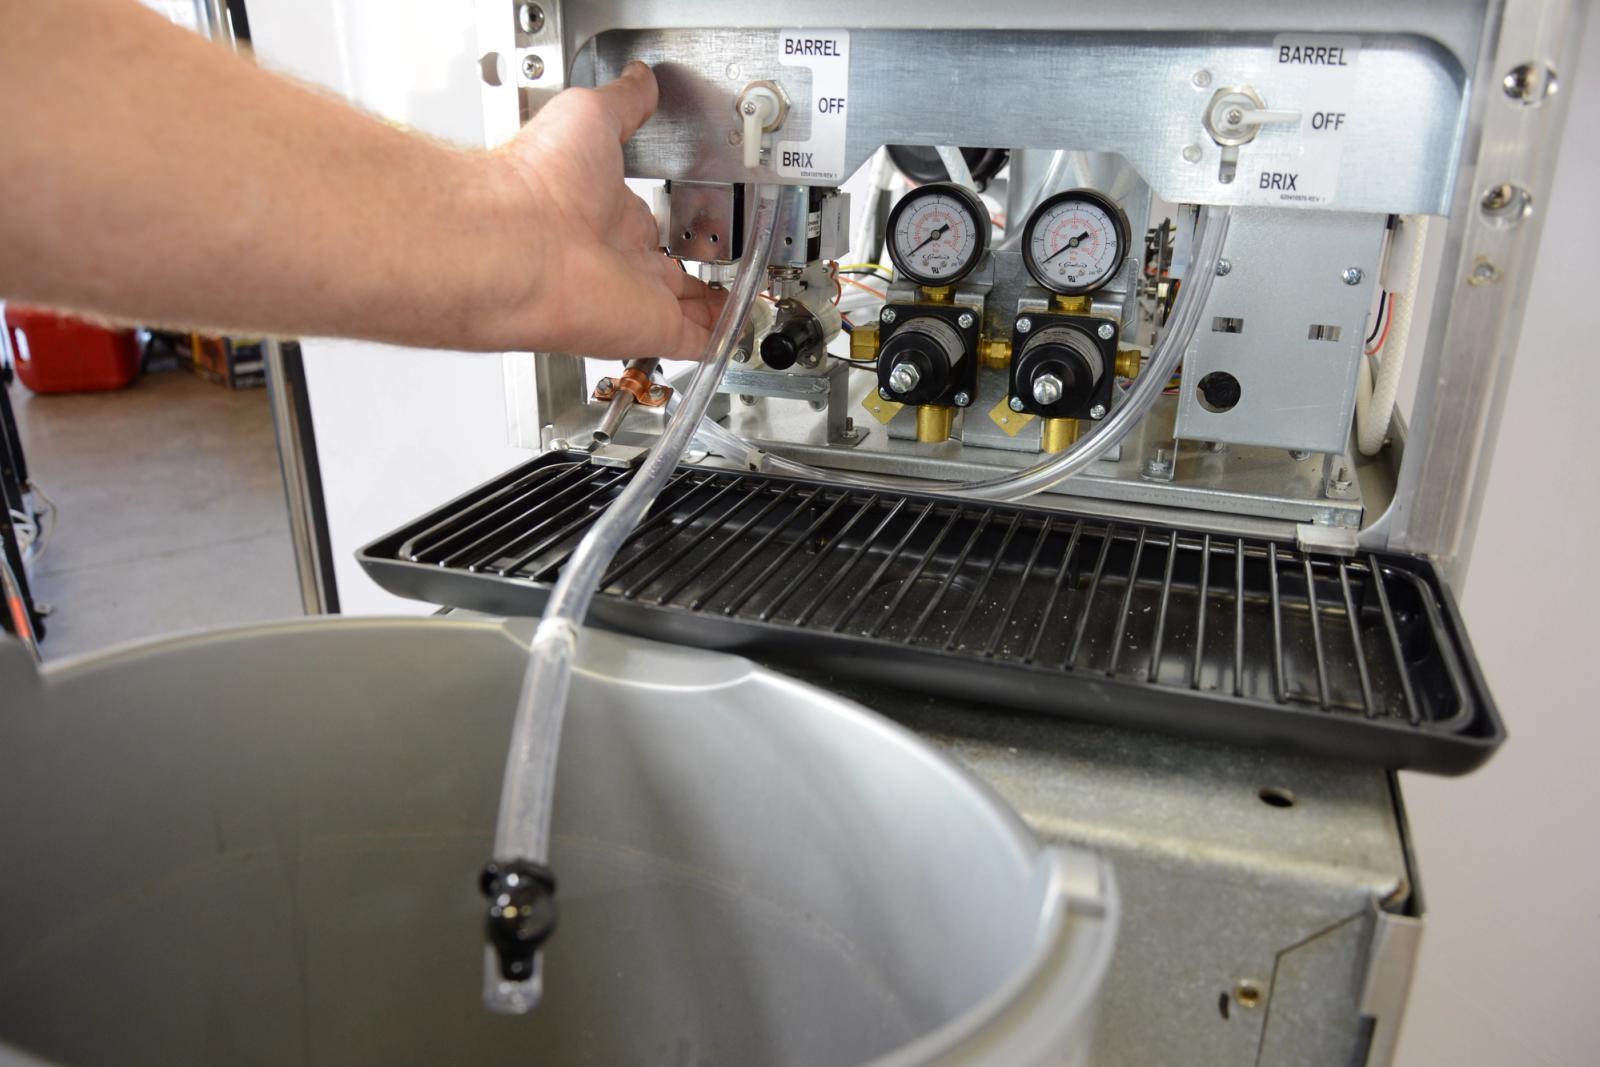
To pressurize and prime the syrup system on the Viper, slowly engage the secondary Co2 regulator for the FCB BIBs to 75psi and check the system for leaks. Next turn the three-way valve to the brix position (down), and remove the cap at the end of the sample tube and place the tube in a bucket. Manually lift up (slowly) on the syrup valve coil plunger to purge air from the system and prime with syrup until you have a steady flow (it is normal to have a burst of air before syrup). Return the three-way valve to the off position when done. Repeat this for each of the syrup valves.
Note: It is recommended to flush the sample tube with water after priming with syrup.
-
BIB Connector Style
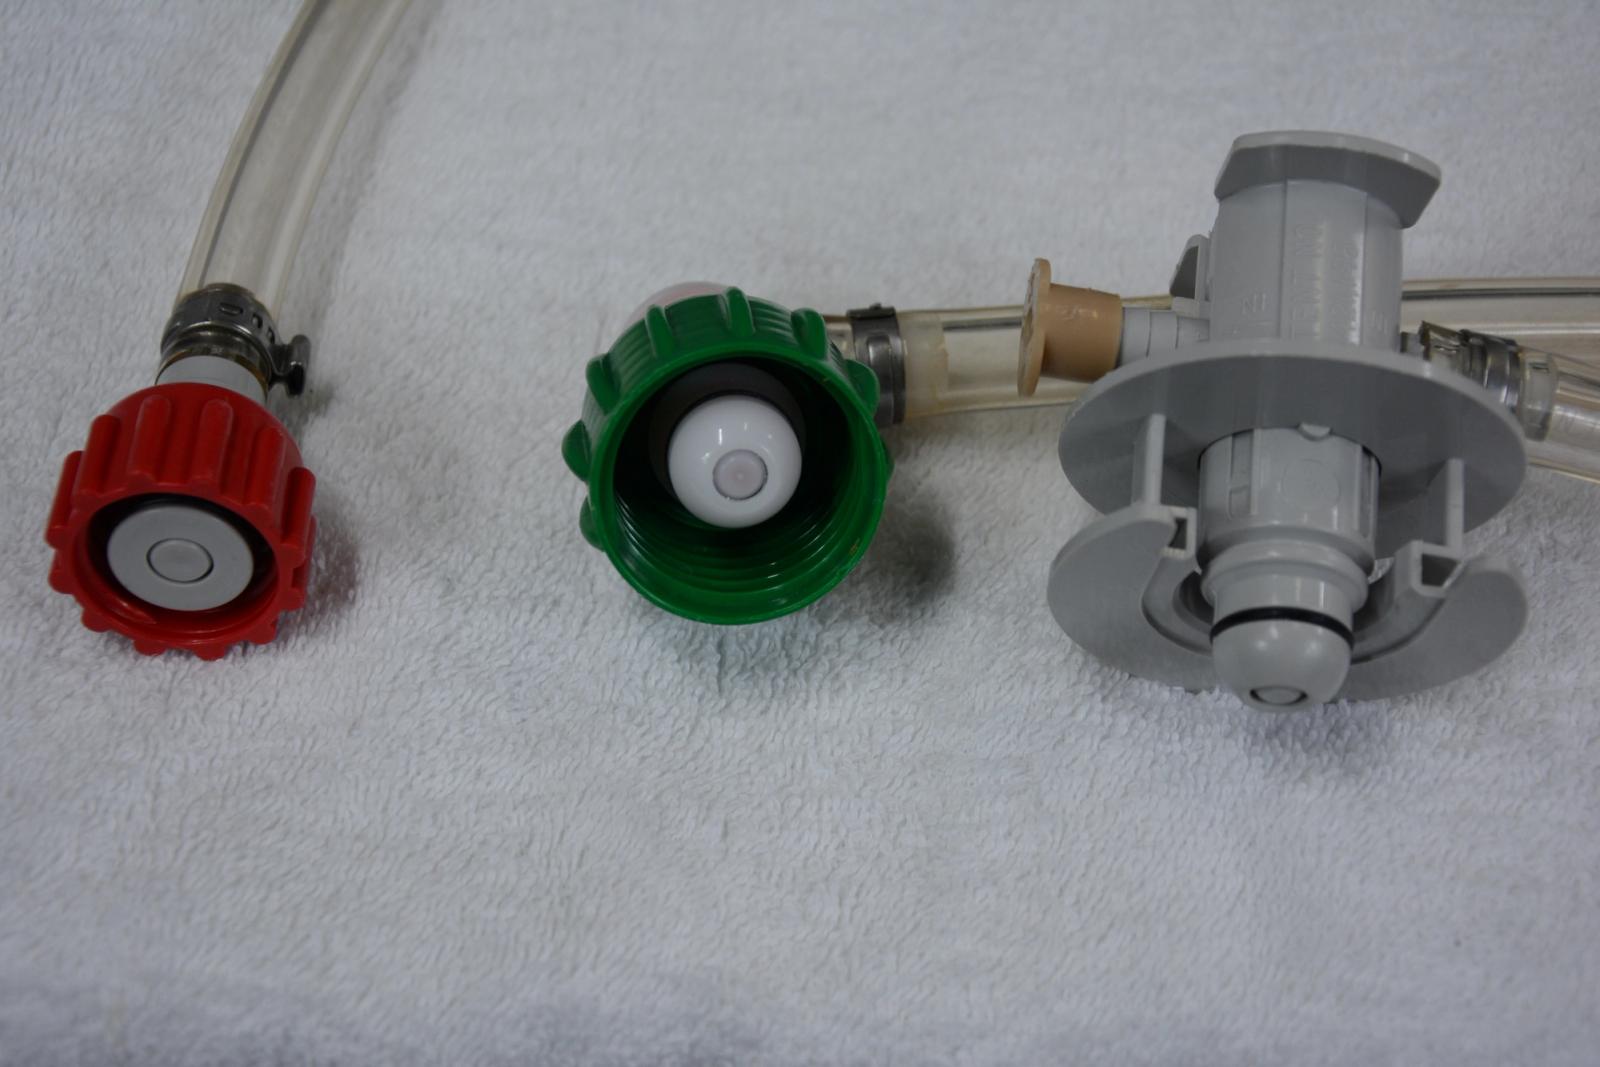
There are two variations of BIB connectors. The threaded screw-on type and the push-pull (QCD) type connector. Both style connectors are designed to close off syrup connection when disconnected.
-
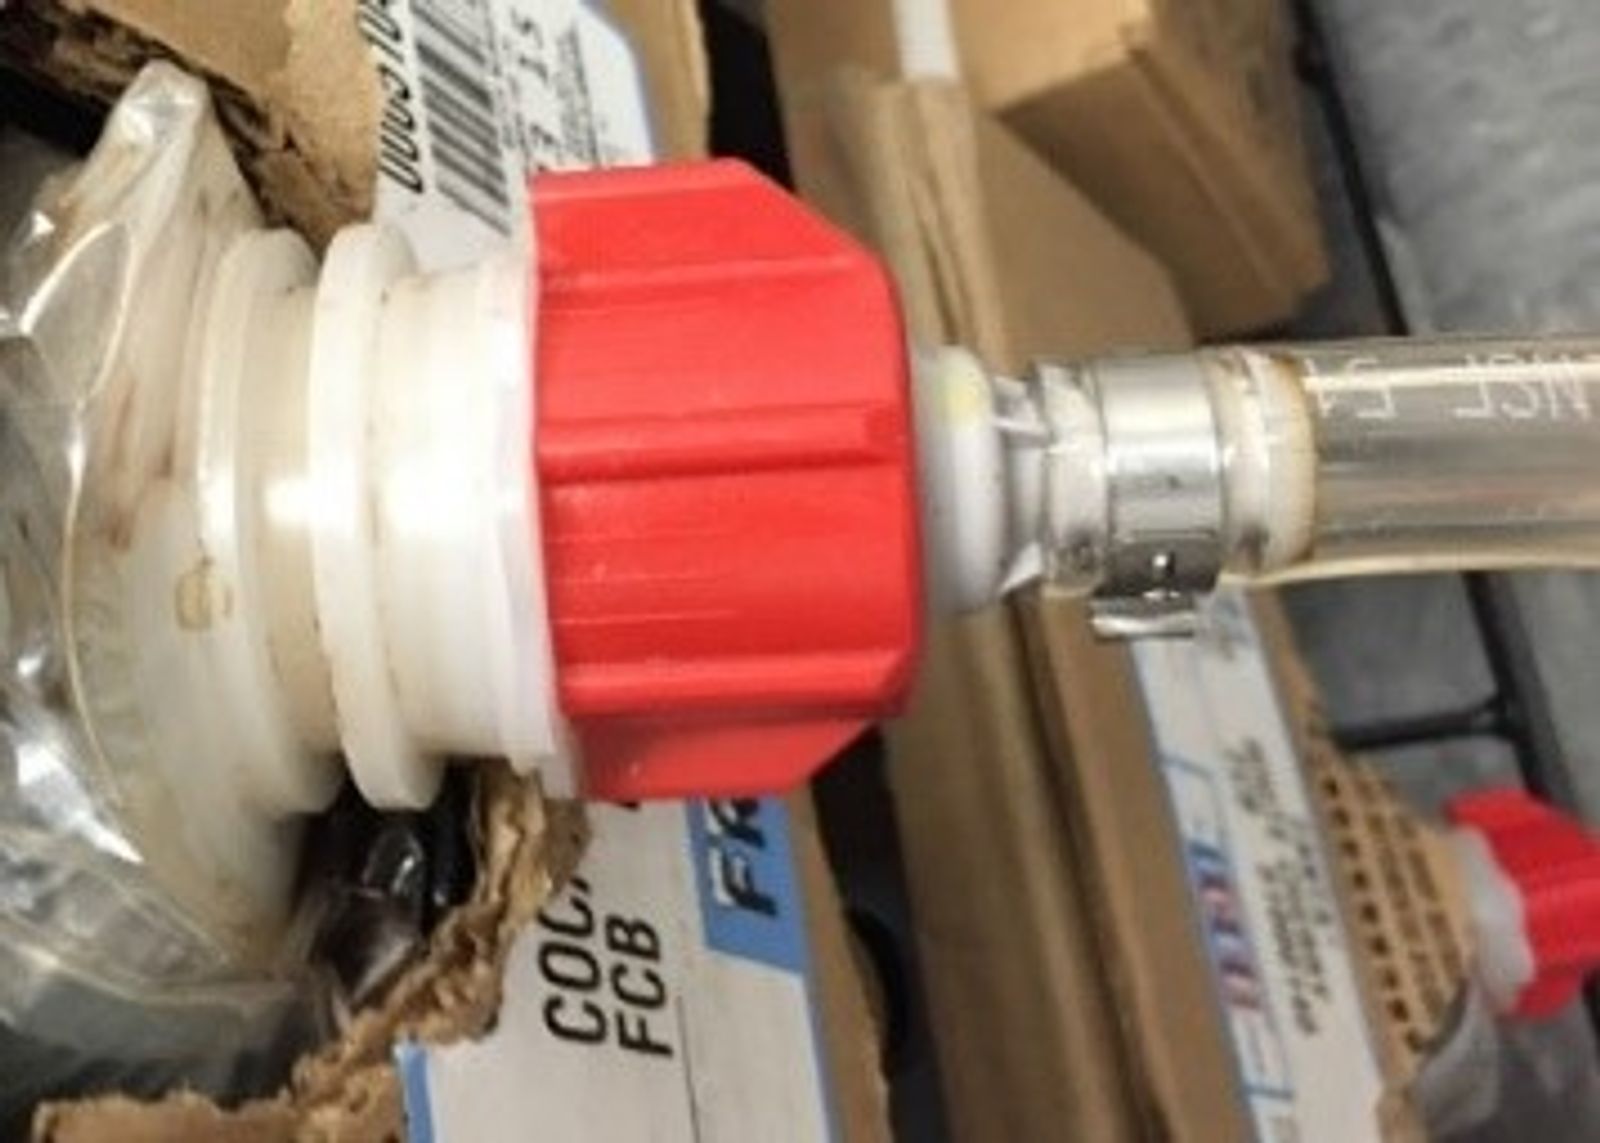
BIB Connect Screw On
Screw the connector clockwise until it is fully seated onto the bag connector. Screw the connector counterclockwise to remove. A spring-loaded poppet assembly will keep the BIB and connector from leaking when removed.
Note: the BIB connector should be cleaned every time a BIB is changed. This will allow for easy connection and removal.
-
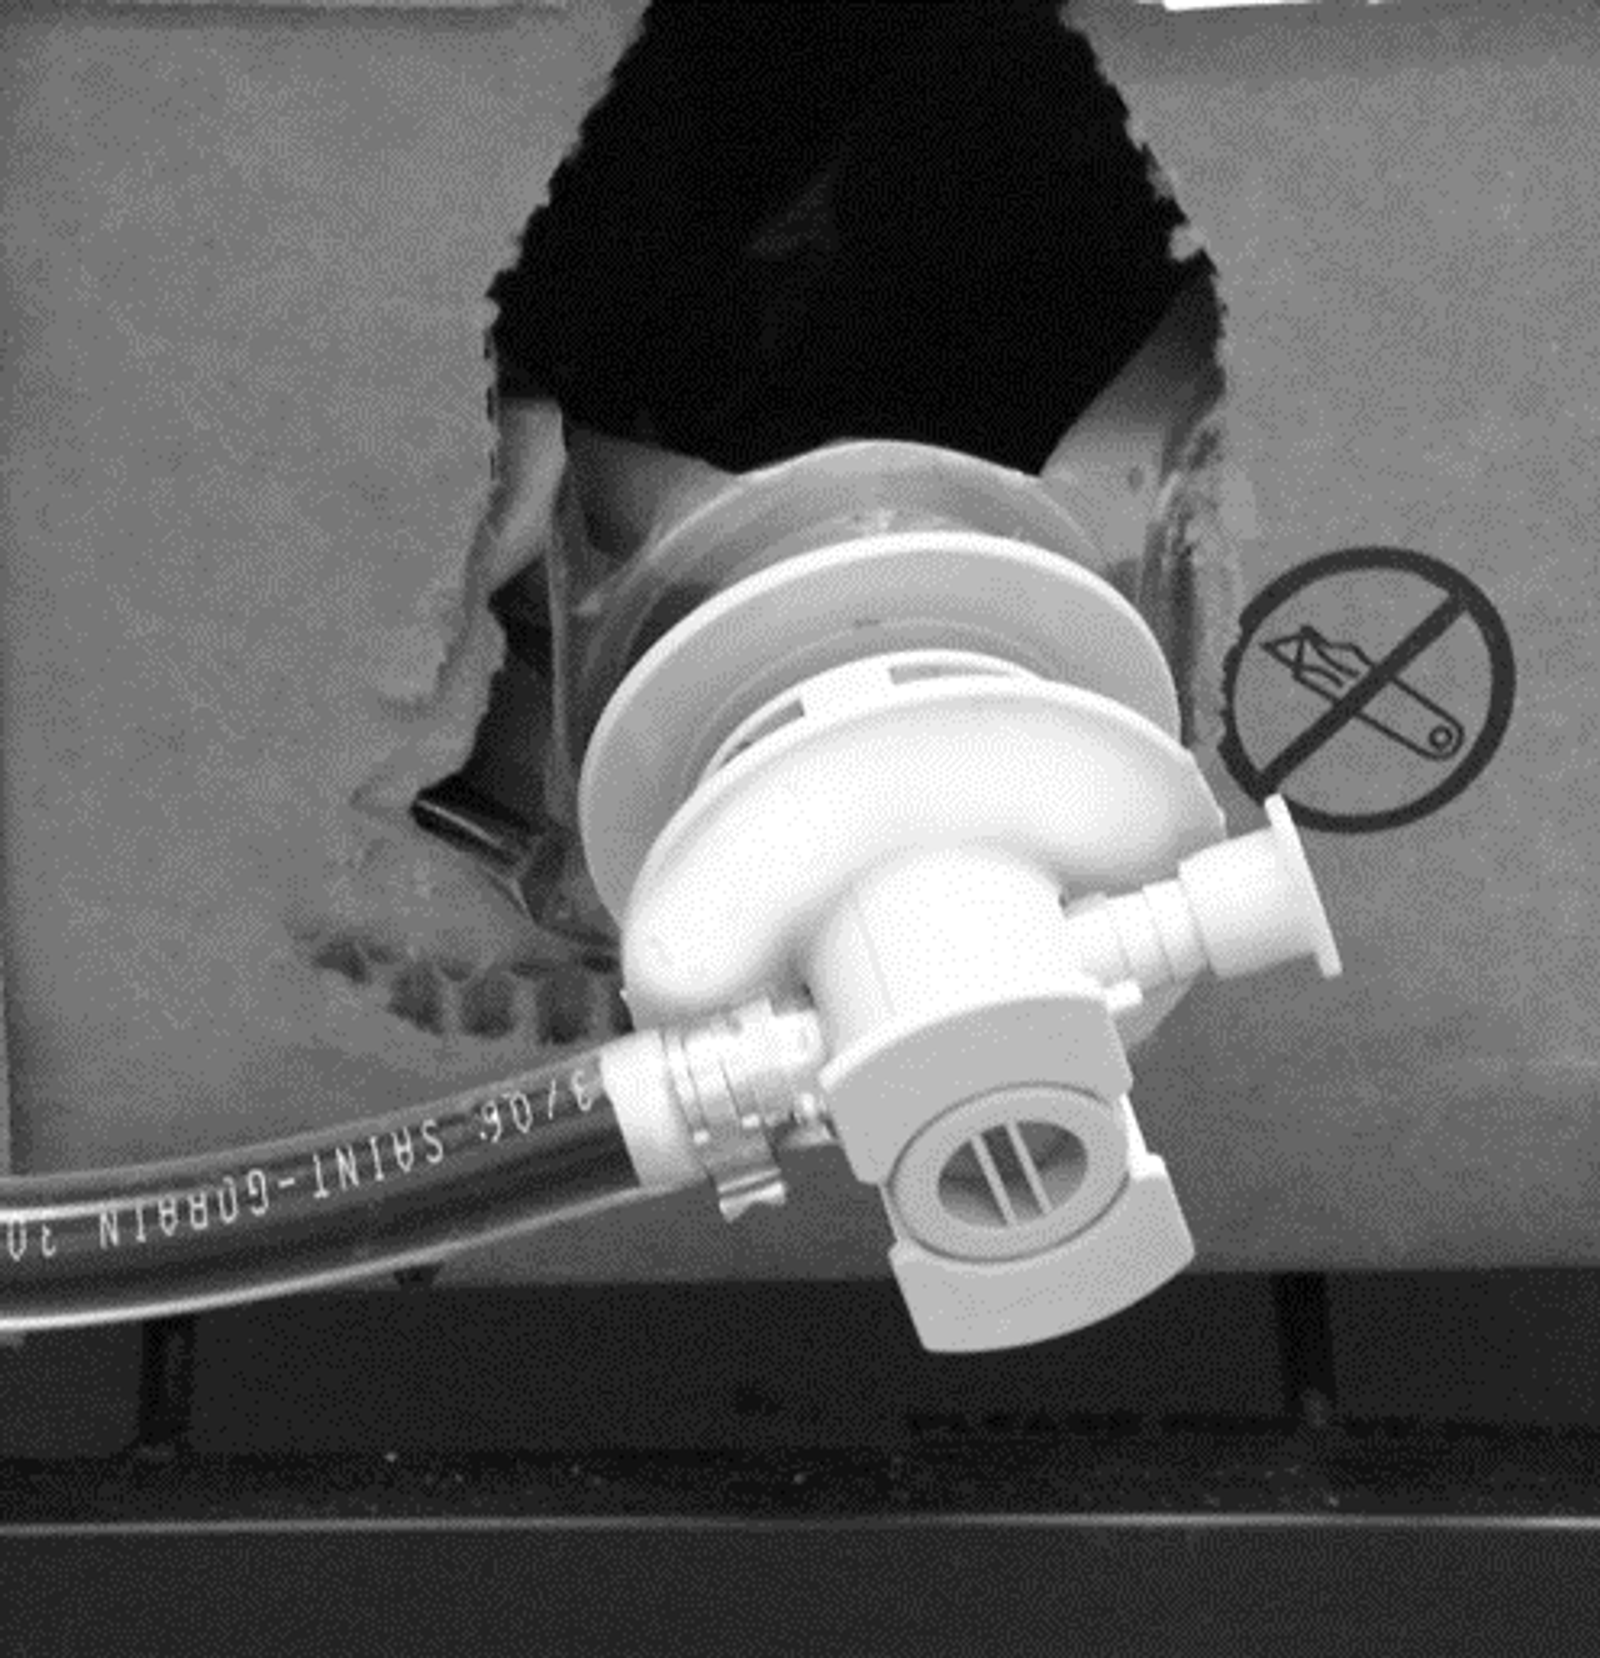
BIB Connect Push-Pull
Install the QCD connector onto the BIB connector by slipping it onto the connector and pushing the syrup hose and stub in toward the box to engage. Push in on the outer connector tab and pull the syrup hose and stub out to unlock the connector from the BIB. Pull the connector sideways to disengage the line from the bag connector.
Note: the BIB connector should be cleaned every time a BIB is changed. This will allow for easy connection and removal.
-
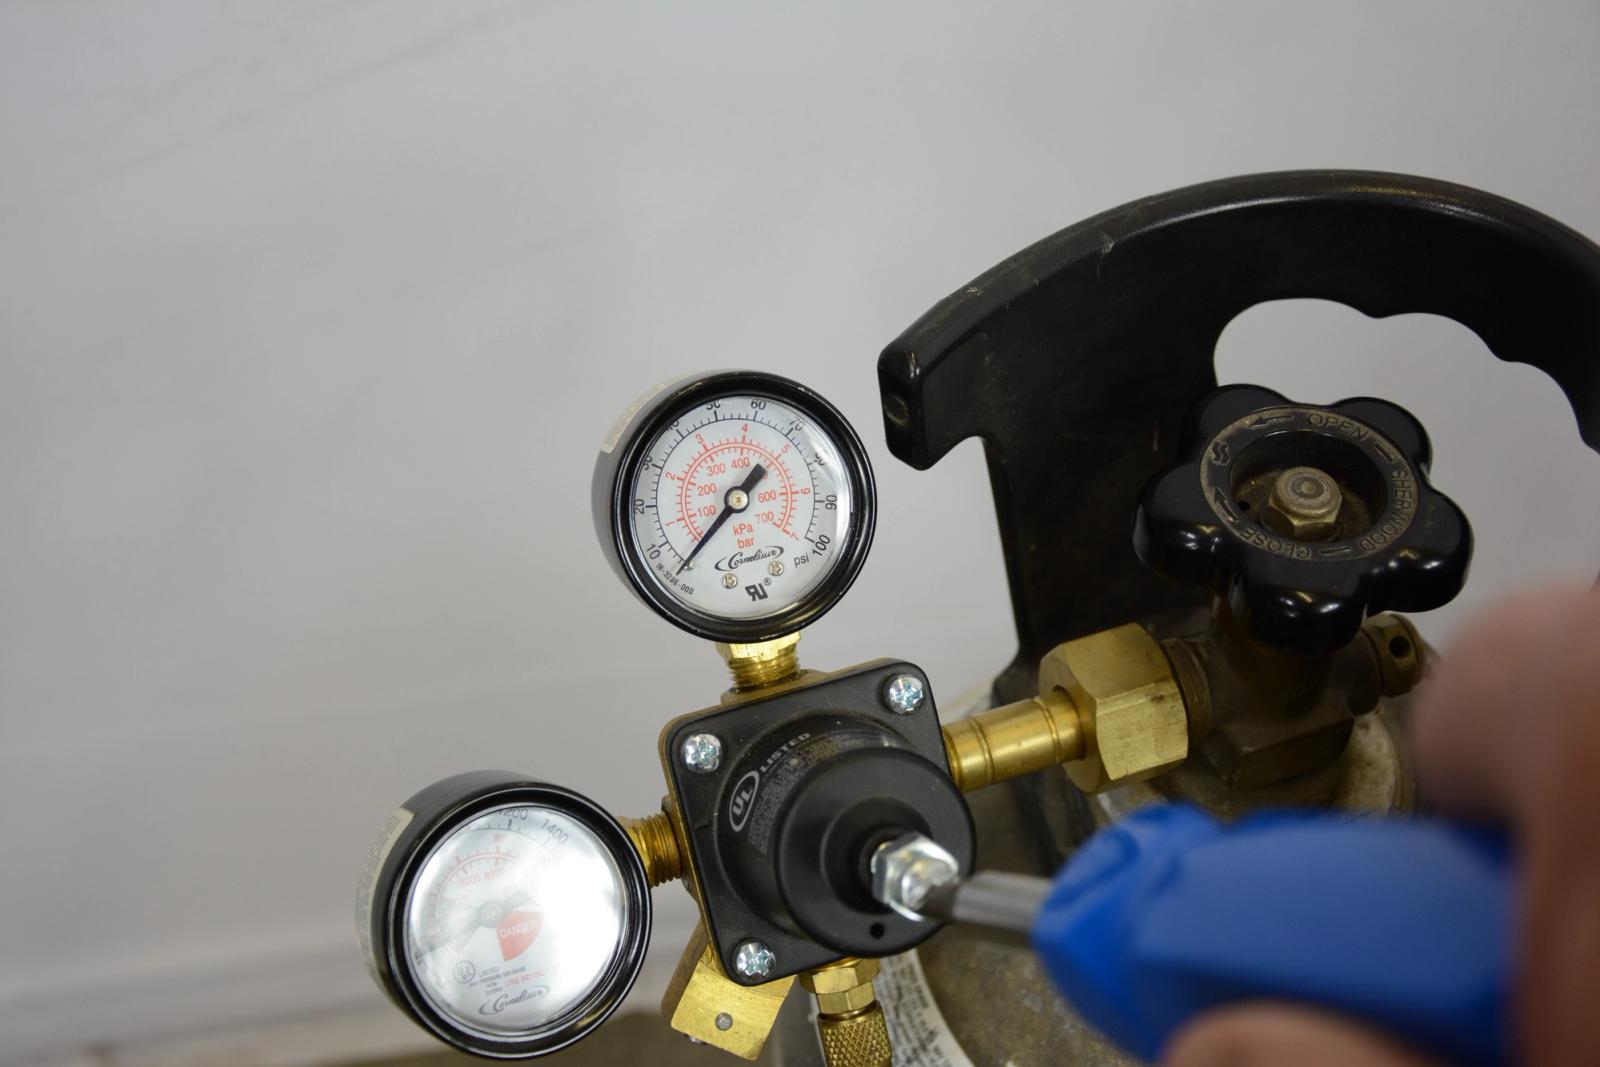
Pressurizing CO2 System
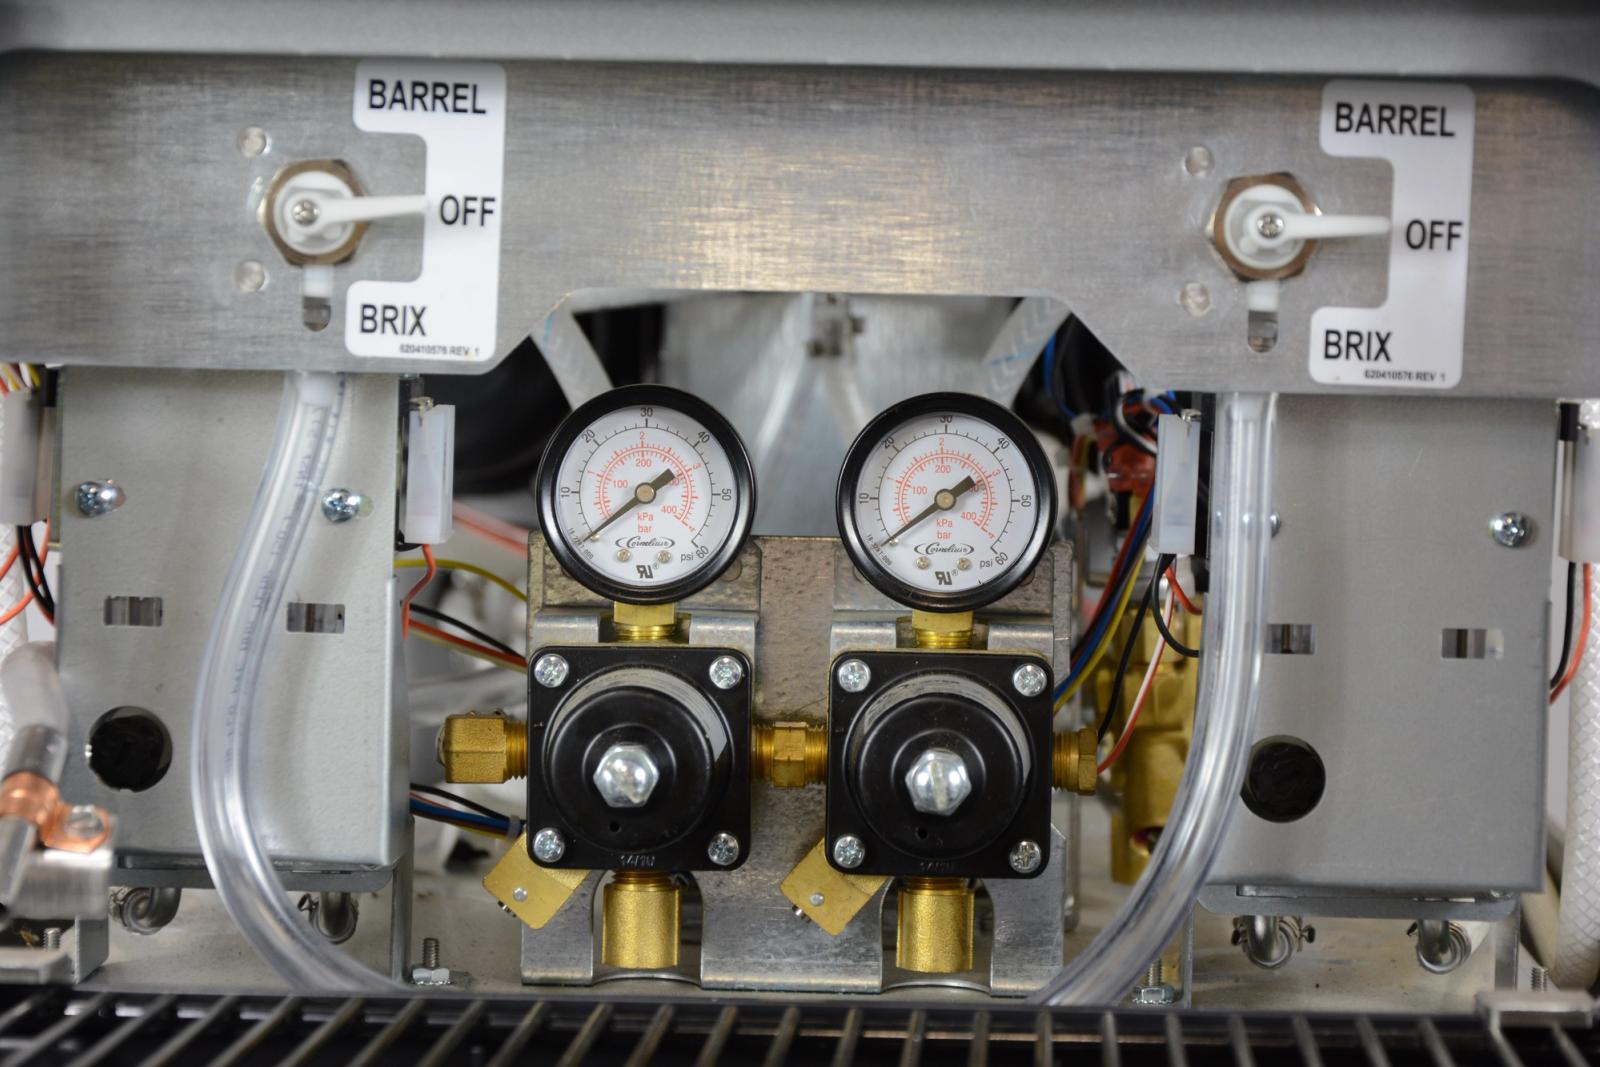
To pressurize the Viper’s CO2 system, open the CO2 supply valve slowly and allow system to pressurize, check for leaks. Slowly adjust the dedicated secondary Co2 regulator for the Viper to 75psi. Check the Vipers internal Co2 regulators to ensure proper Co2 settings. The Co2 regulators behind the splash panel affect the overrun and should be set to 36-38psi to achieve 100% overrun.
-
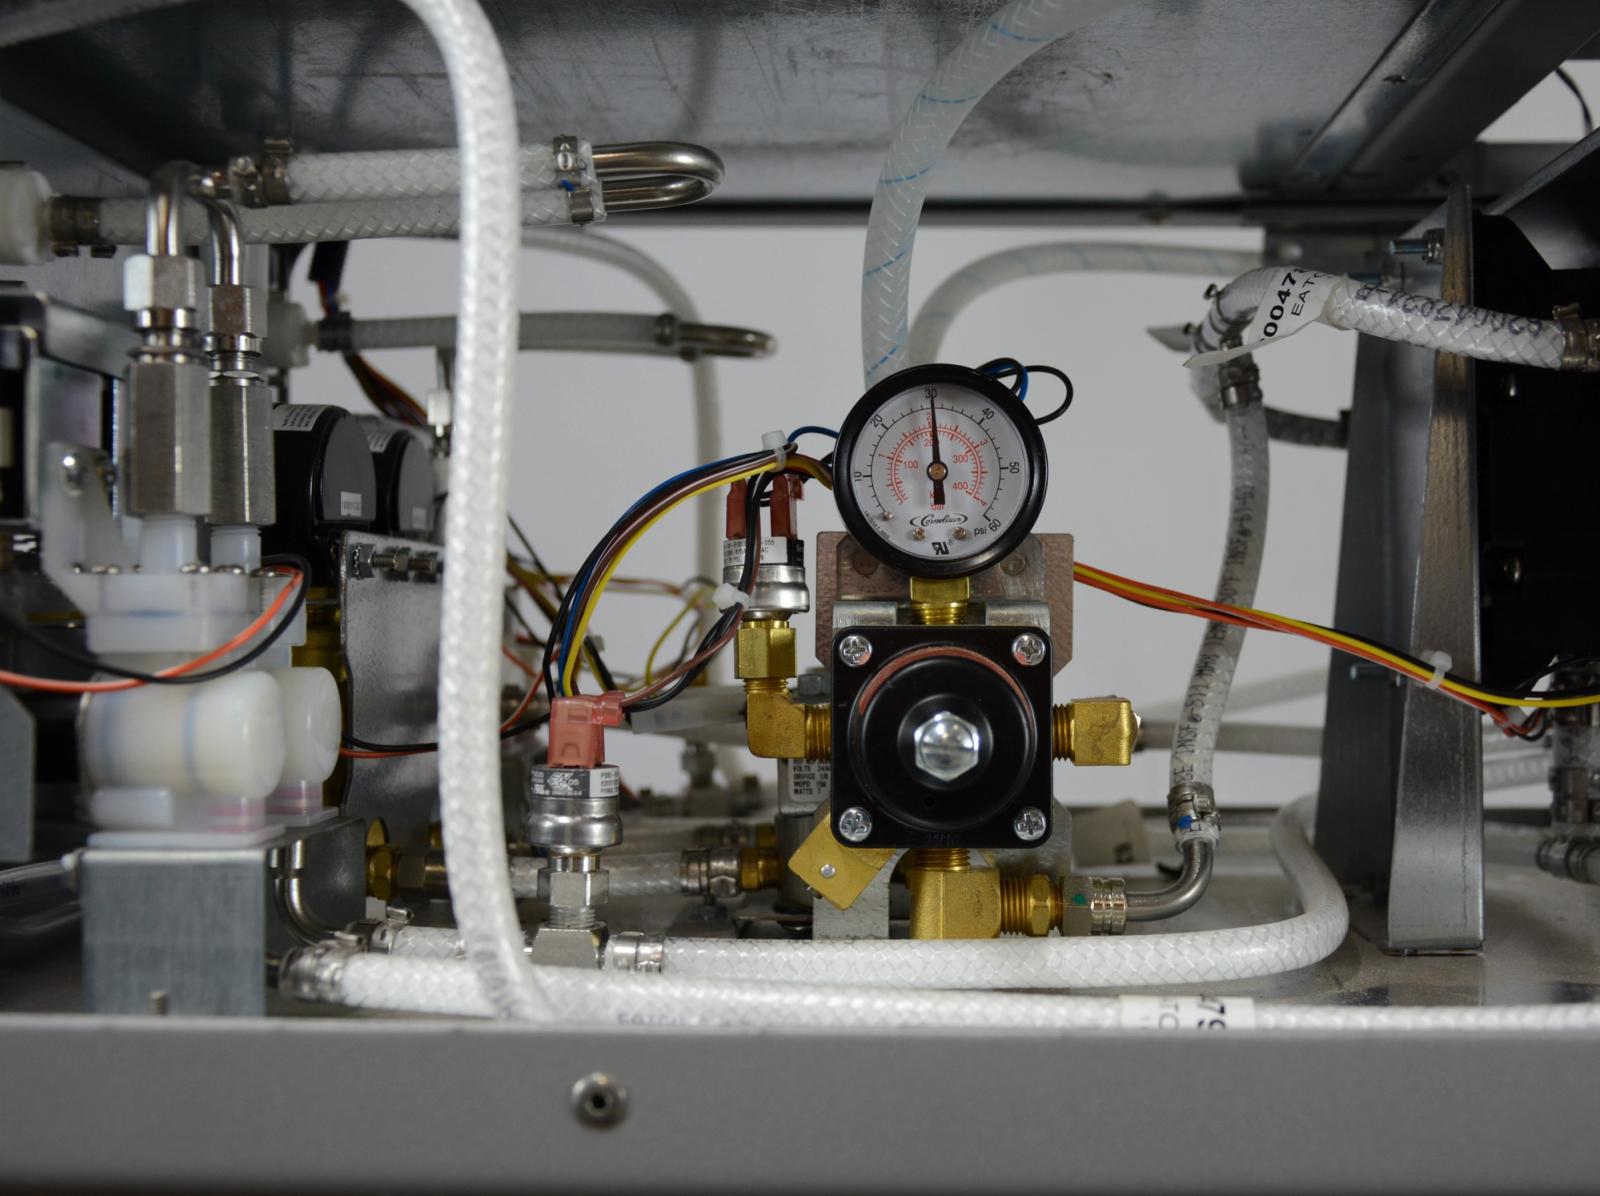
Expansion Tank CO2 Pressure
The expansion tank regulator regulates Co2 pressure to the expansion tanks and is preset at the factory to 30psi. It is located on the right side of the Viper for two and three flavors and the left side of the Viper for four flavors. Do not change or adjust this setting with pressure in the barrels. If the regulator needs to be reset to 30psig, depressurize all barrels, backseat the regulator to 0psi and slowly engage to 30psi.
Note: The expansion tank regulator will read ~32-33psi with the product in the barrels.
-
Freeze Barrel CO2 Pressure
Behind the splash panel is a bank of secondary CO2 regulators, one for each freeze barrel. The pressure for each barrel is set to 36-38 PSIG at the factory to achieve ~100% overrun. The pressure setting may need to be readjusted for syrup being used and the product desired.
Note: Do not make adjustments to these Co2 regulators while the barrels are pressurized. To adjust, empty the barrel, backseat the gauge to 0psi and slowly engage to the desired setting.