
Syrup Edit
IDC Pro Pocket Guide — Operation — Technician's Level Menu: Service Level 3
-
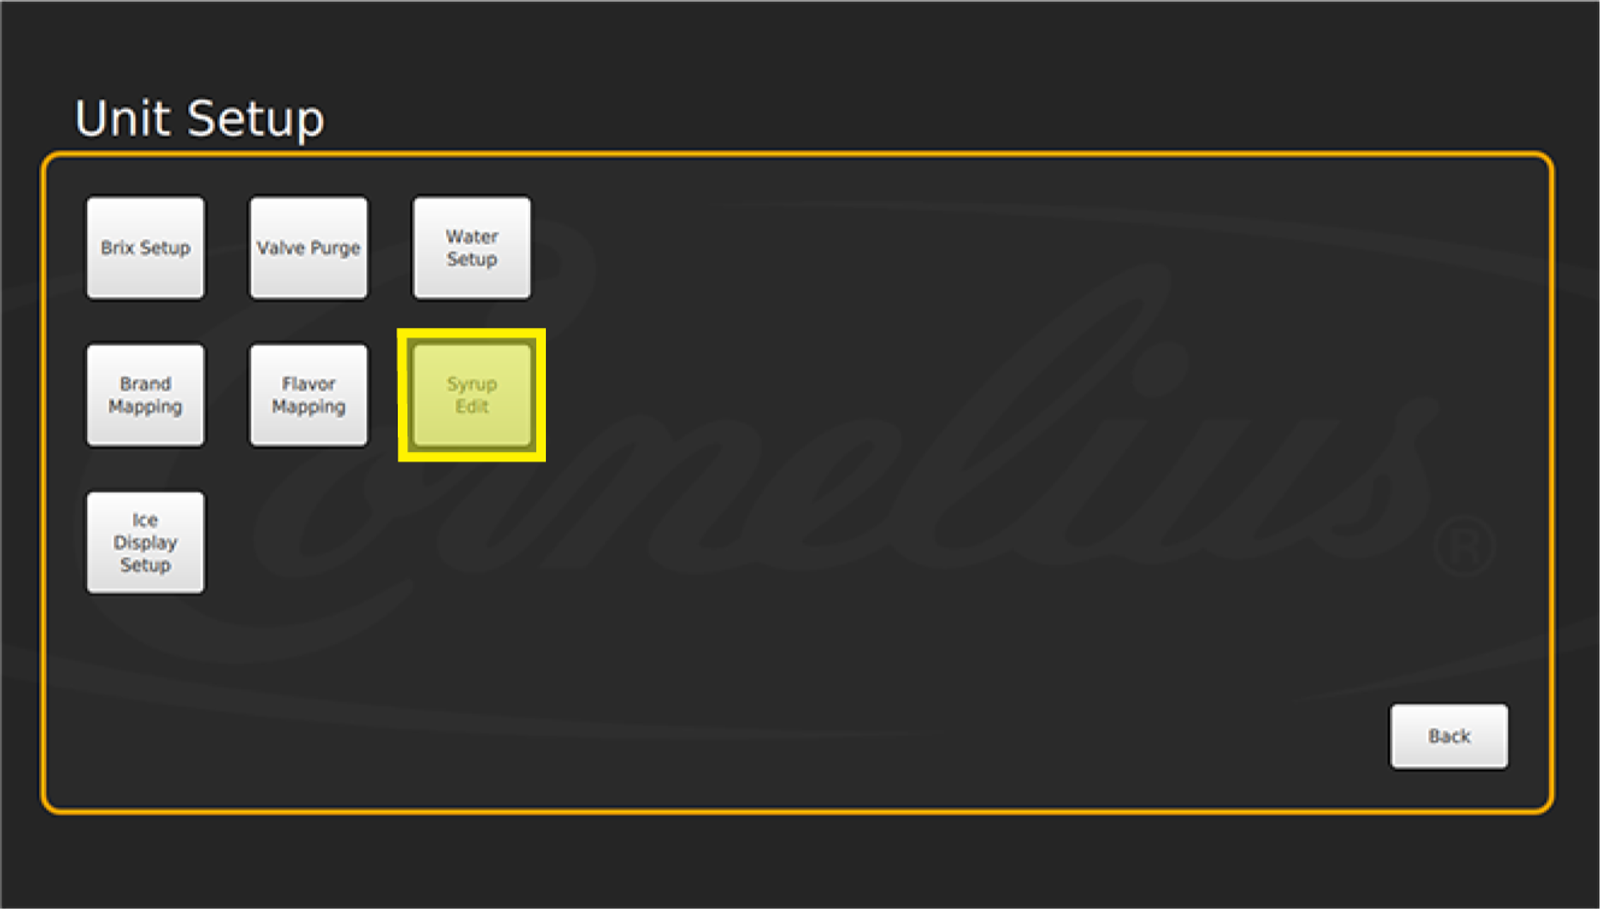
Access Syrup Edit
The Syrup Edit screen allows you to create or modify an existing brand or flavor shot syrup profile.
-
Upload Icons
To upload a new brand or flavor shot icon, first insert a USB drive containing the icon to be uploaded. Do so by removing the black USB cable from the back of the screen and insert a USB drive into the same port.
Note: Brand and Flavor shot icons must be formatted to these specifications:
- Brand Image: .png (175 x 175 pixels)
- Flavor Shot Image: .png (225 x 225 pixels)
-
Create New Syrup
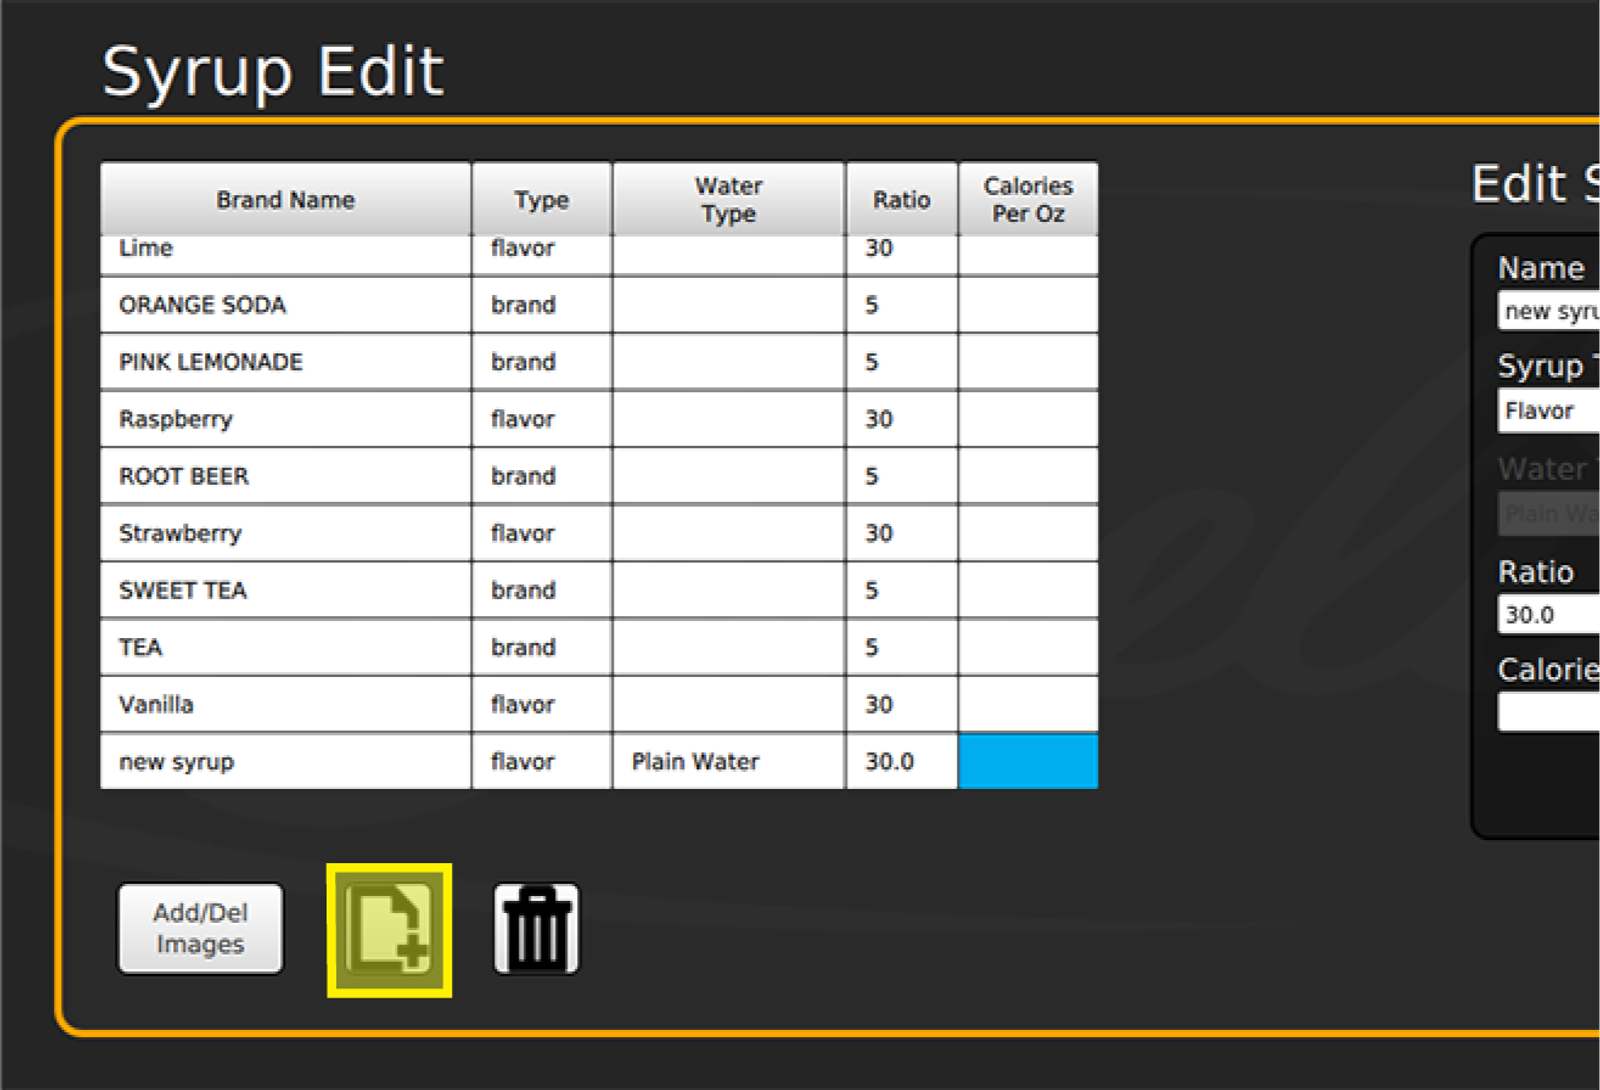
To create a new brand, syrup, or flavor shot, select the Add icon.
Note: You should see “New Syrup” appear at the bottom of the syrup list.
-
Edit Syrup Data
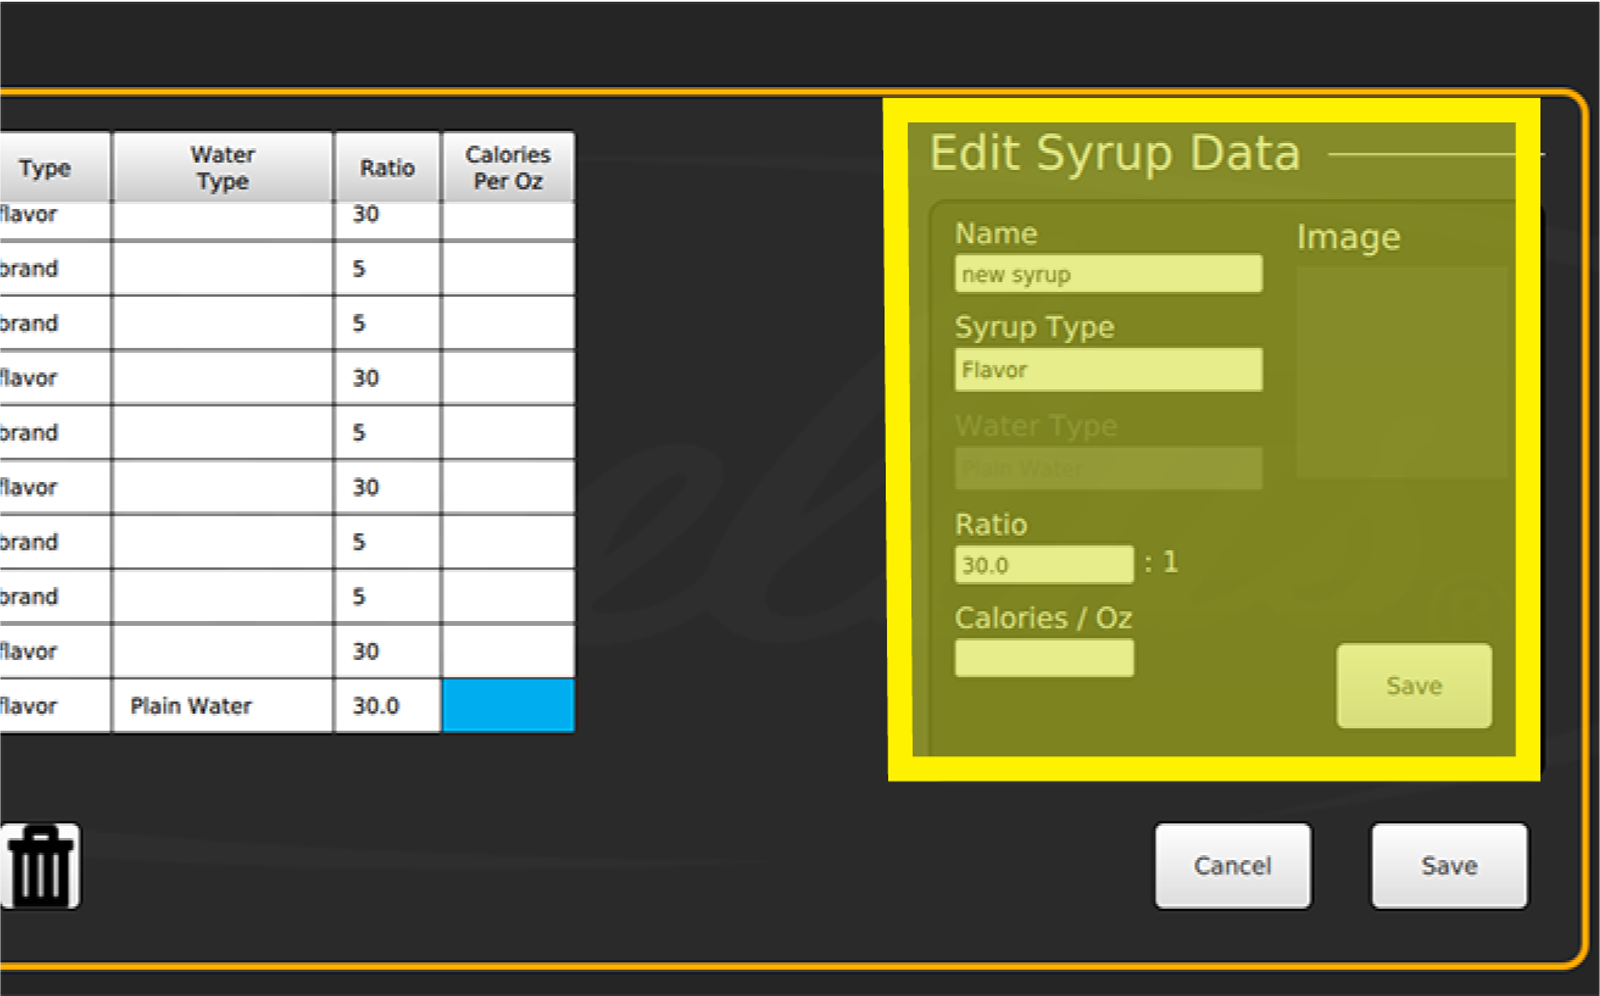
Enter the following info for the newly created syrup:
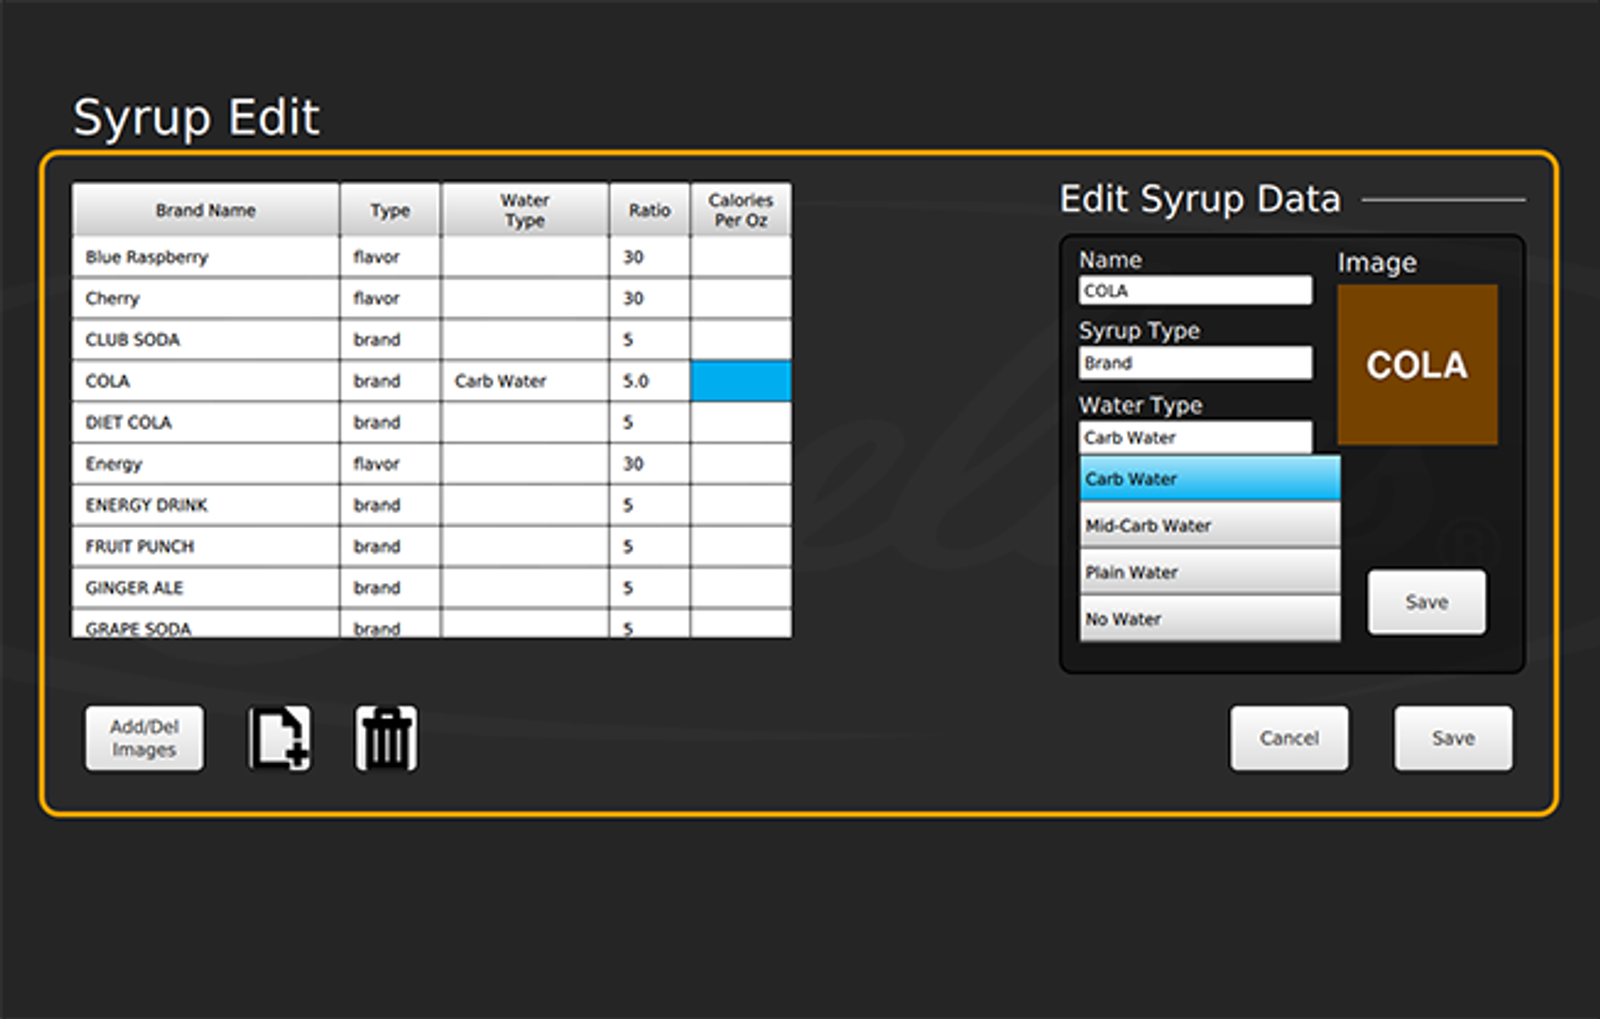
- Select the white space under Name to name the newly created syrup. Select Enter when finished.
- Select the white space under Syrup Type and select Brand if the syrup is a new brand, or select Flavor if it is a new flavor shot.
- Select the white space under Water Type to label the beverages as carbonated or plain water. Note: if you choose a flavor, you will not be able to select your water type.
- Select the white space under Ratio, and type in the Brix ratio for your syrup.
-
Add/Delete Images
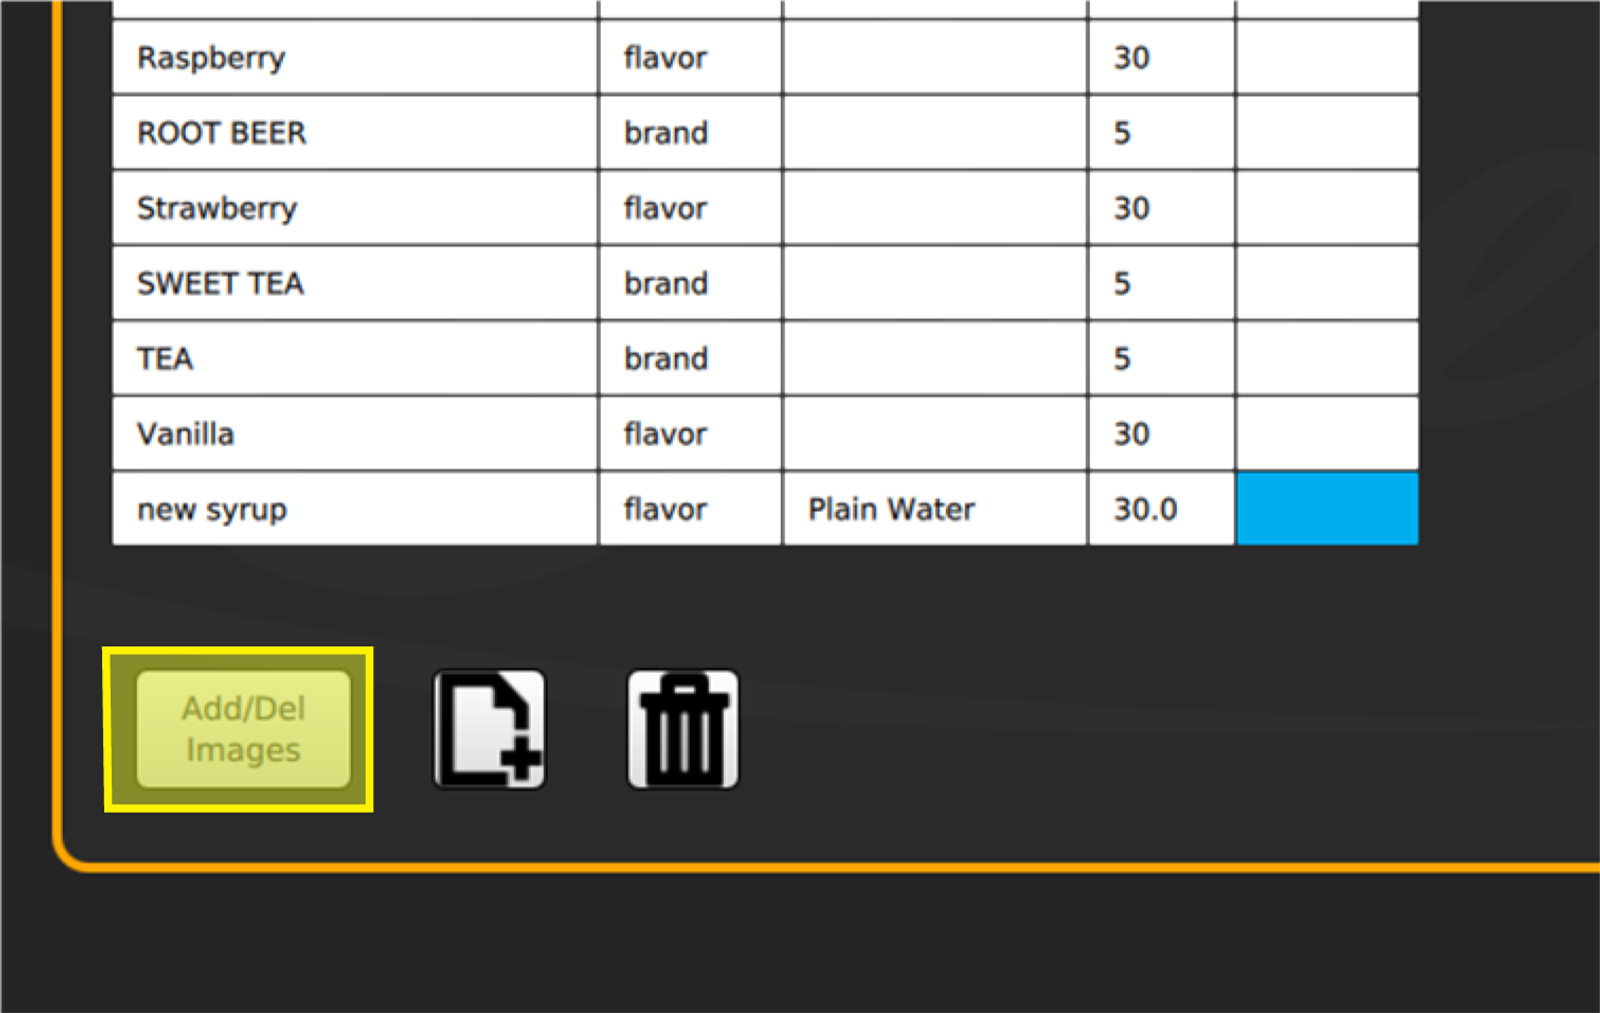
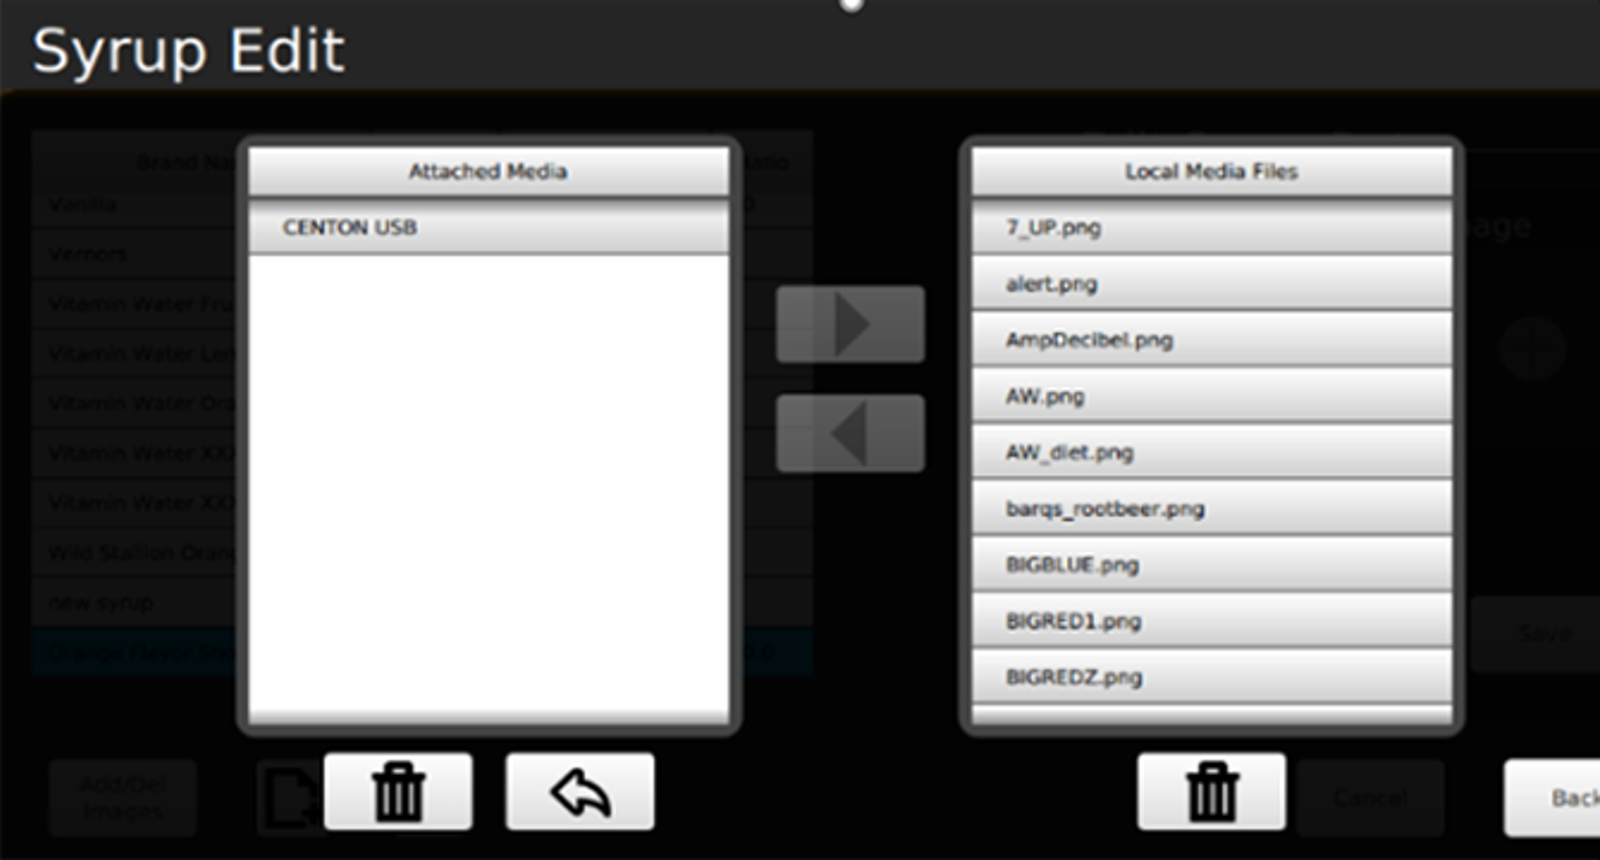
Select Add/Del Images to upload the artwork from your attached USB flash drive.
-
Copy Image Files
You will see the name of your USB flash drive appear under Attached Media. Select the USB Flash drive name to view your files within the flash drive.
Once you’ve opened your flash drive to view the artwork file, select the image file so it is highlighted in blue, then select the Right Arrow to copy this image to local media files. Select Back once completed.
-
Apply Icon to Syrup
Select the brand you just created. The list will be in alphabetical order. Once selected, select the Plus symbol under Image to view all syrup artwork loaded to the IDC Pro. Then select the newly uploaded icon in the library.
Select Save in the lower right hand corner to save your changes. Select Back to move back to the Unit Setup screen.
-
Map to Valves
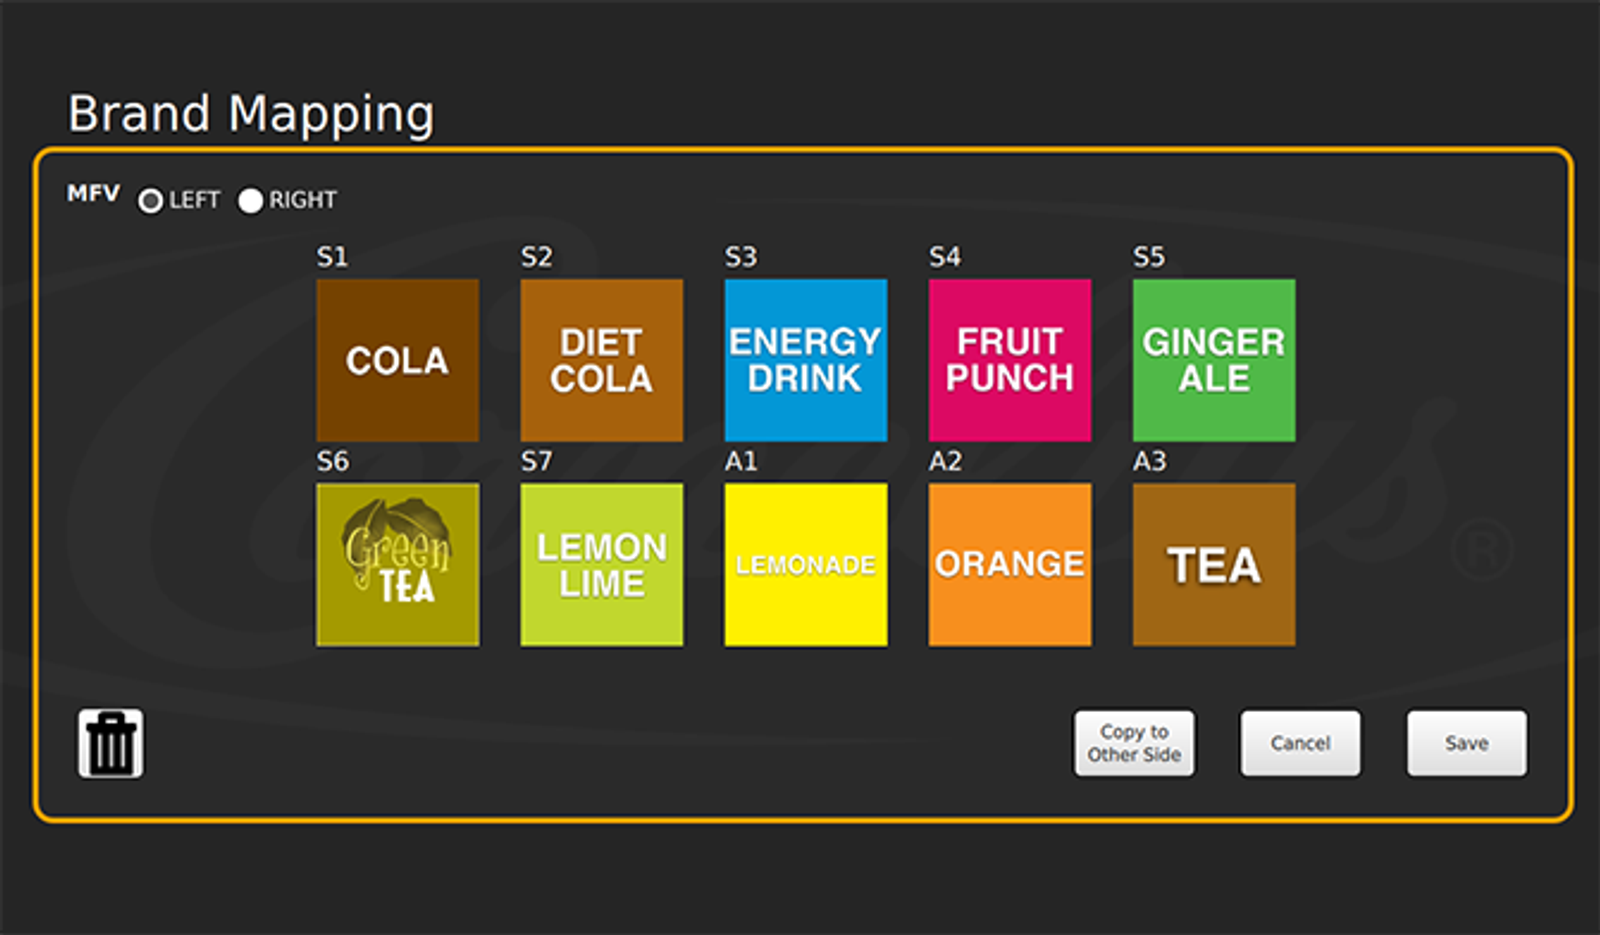
The final step is to map which valves each new brand or flavor will be connected to (using the steps in Brand Mapping).
