
Brixing Setup
IDC Pro Pocket Guide — Operation — Technician's Level Menu: Service Level 3
-
Prior to Brixing
Prior to brixing, the hopper and cold plate must be filled with ice.
Note: Prior to setting the ratios, ice must be in the hopper and on the cold plate for at least 30 minutes. Agitate the ice during the brixing process to ensure ice will always be on the cold plate.
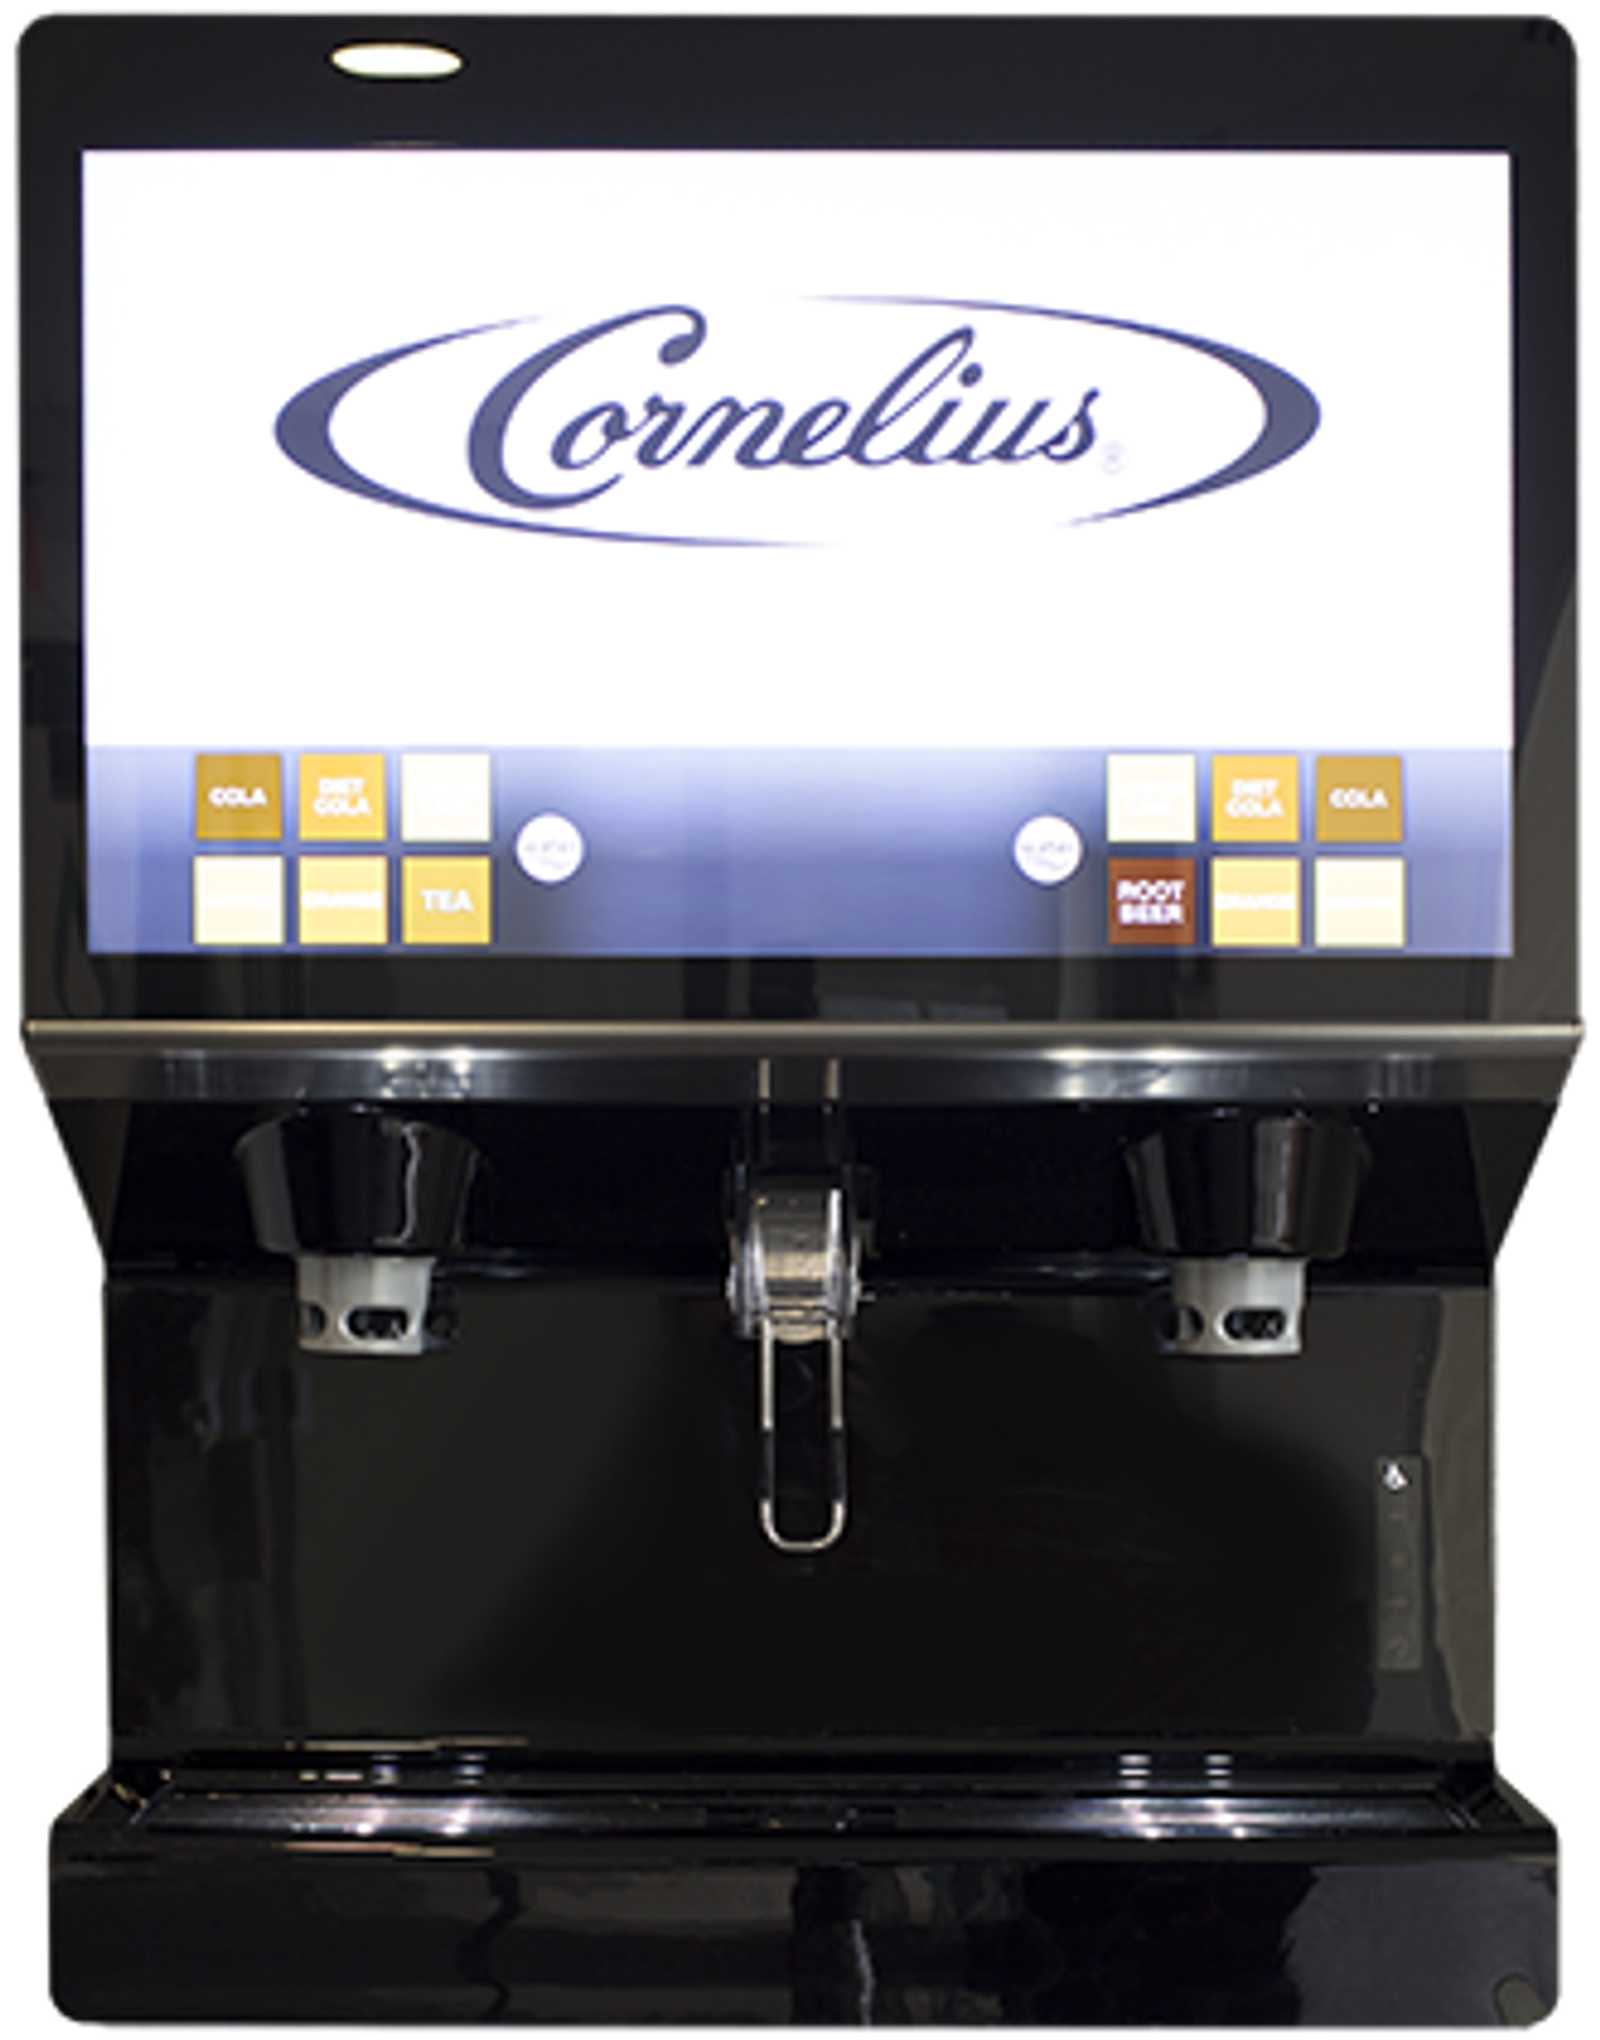
-
Access Brix Setup
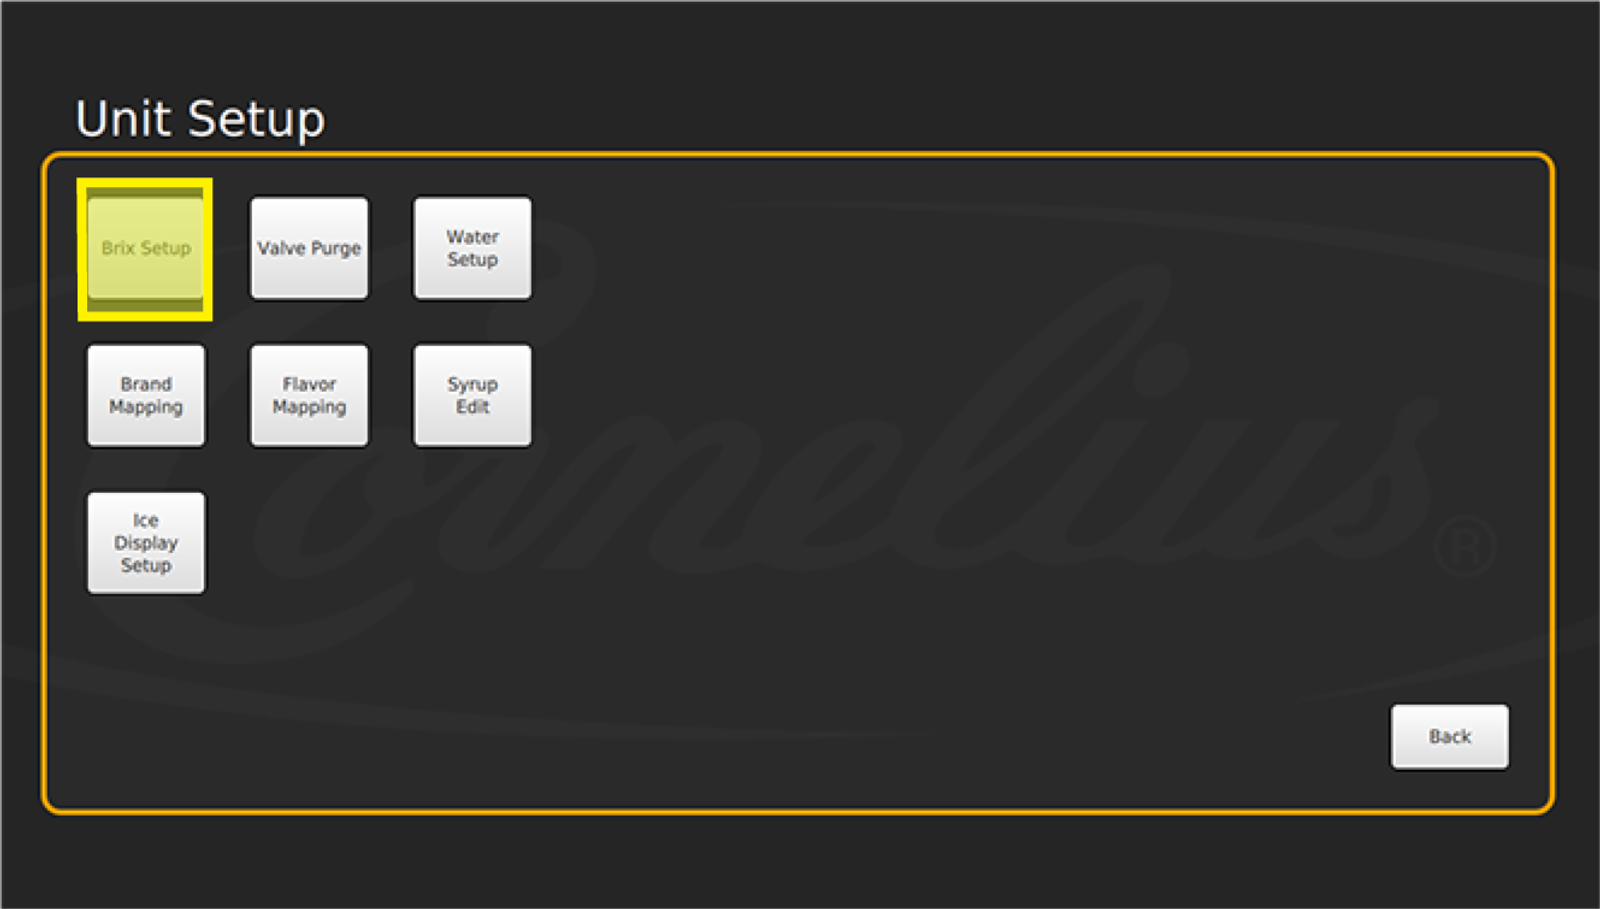
Enter the Brixing menu by selecting the Brix Setup in the Unit Setup screen.
-
Flow Rate
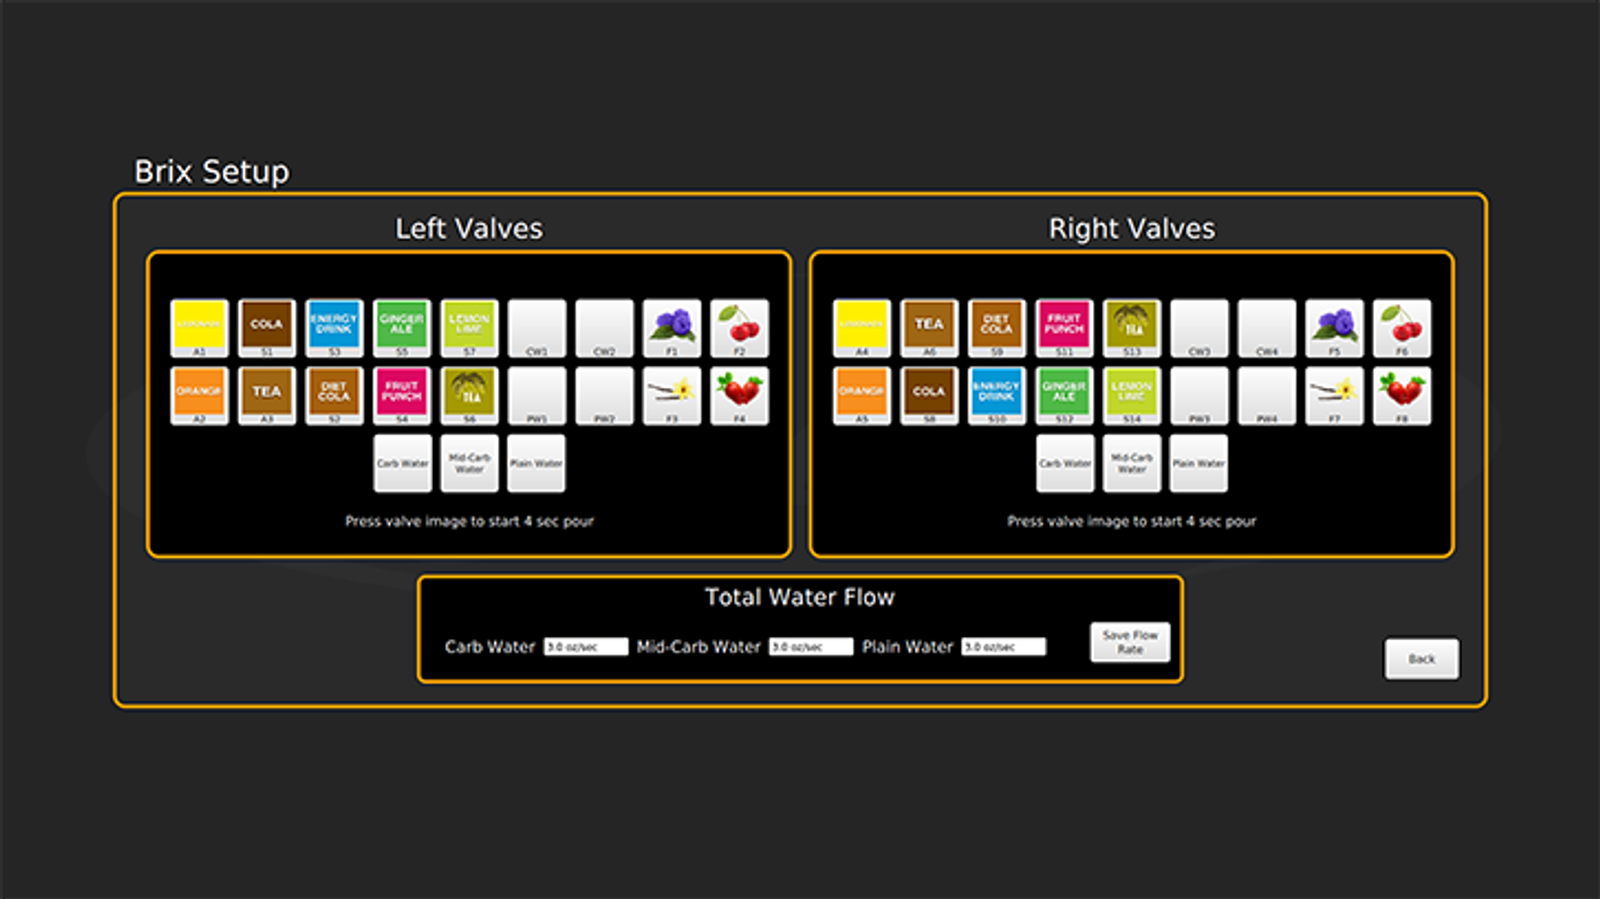
When you select a valve to brix it will dispense for a preprogrammed 4-second dispense. Buttons on the screen match the layout of the valves on the machine.
Note: All instructions and volumes are based on a 3 oz. per second pour rate that is already set up. Do not change the flow rate settings in the Total Flow Rate window. These are set to accurately calculate sales data. Adjustments to the flow rate is done manually at the specific flow controls.
-
Set Water Valve Flow
First set the carbonated water and plain water valves. Set CW1, CW3, PW1 and PW3 to 7 oz. by following these steps:
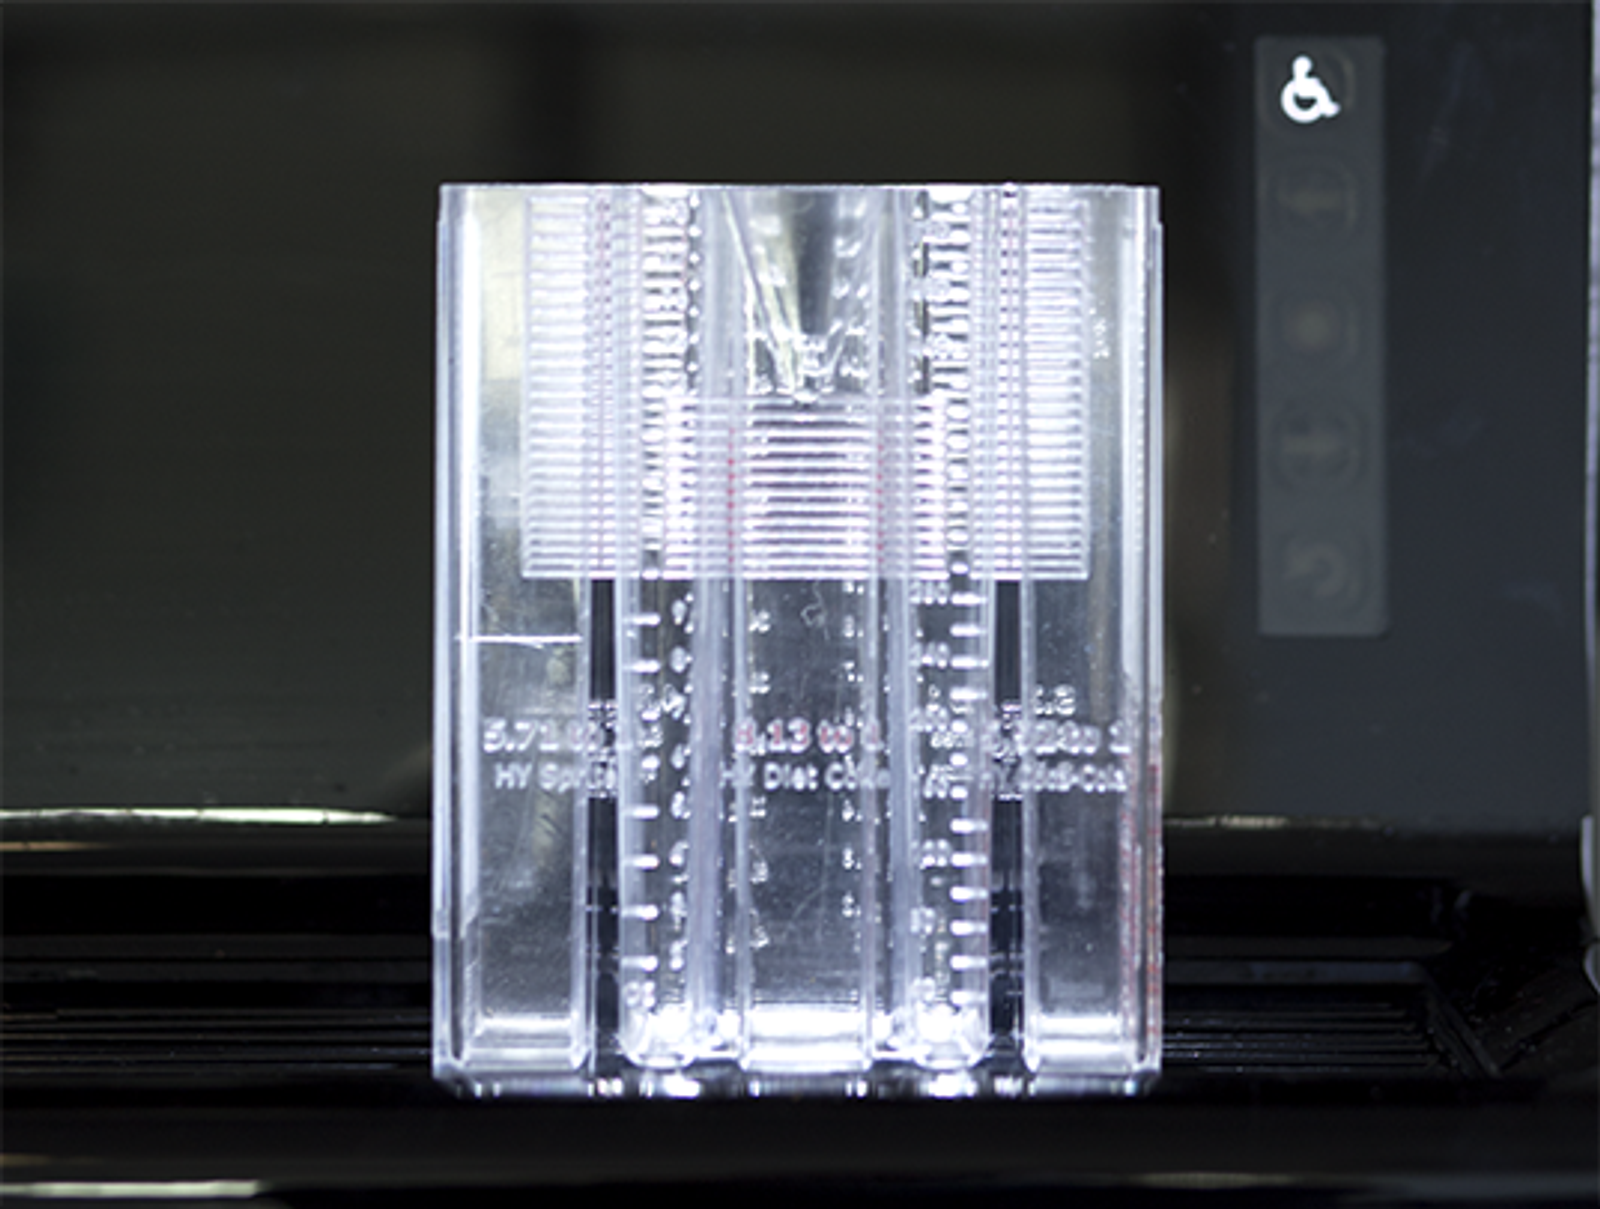
- Place a brixing cup under the nozzle you are dispensing from.
- Press the button corresponding to CW 1 and fill the center of the brixing cup to 7 oz.
-
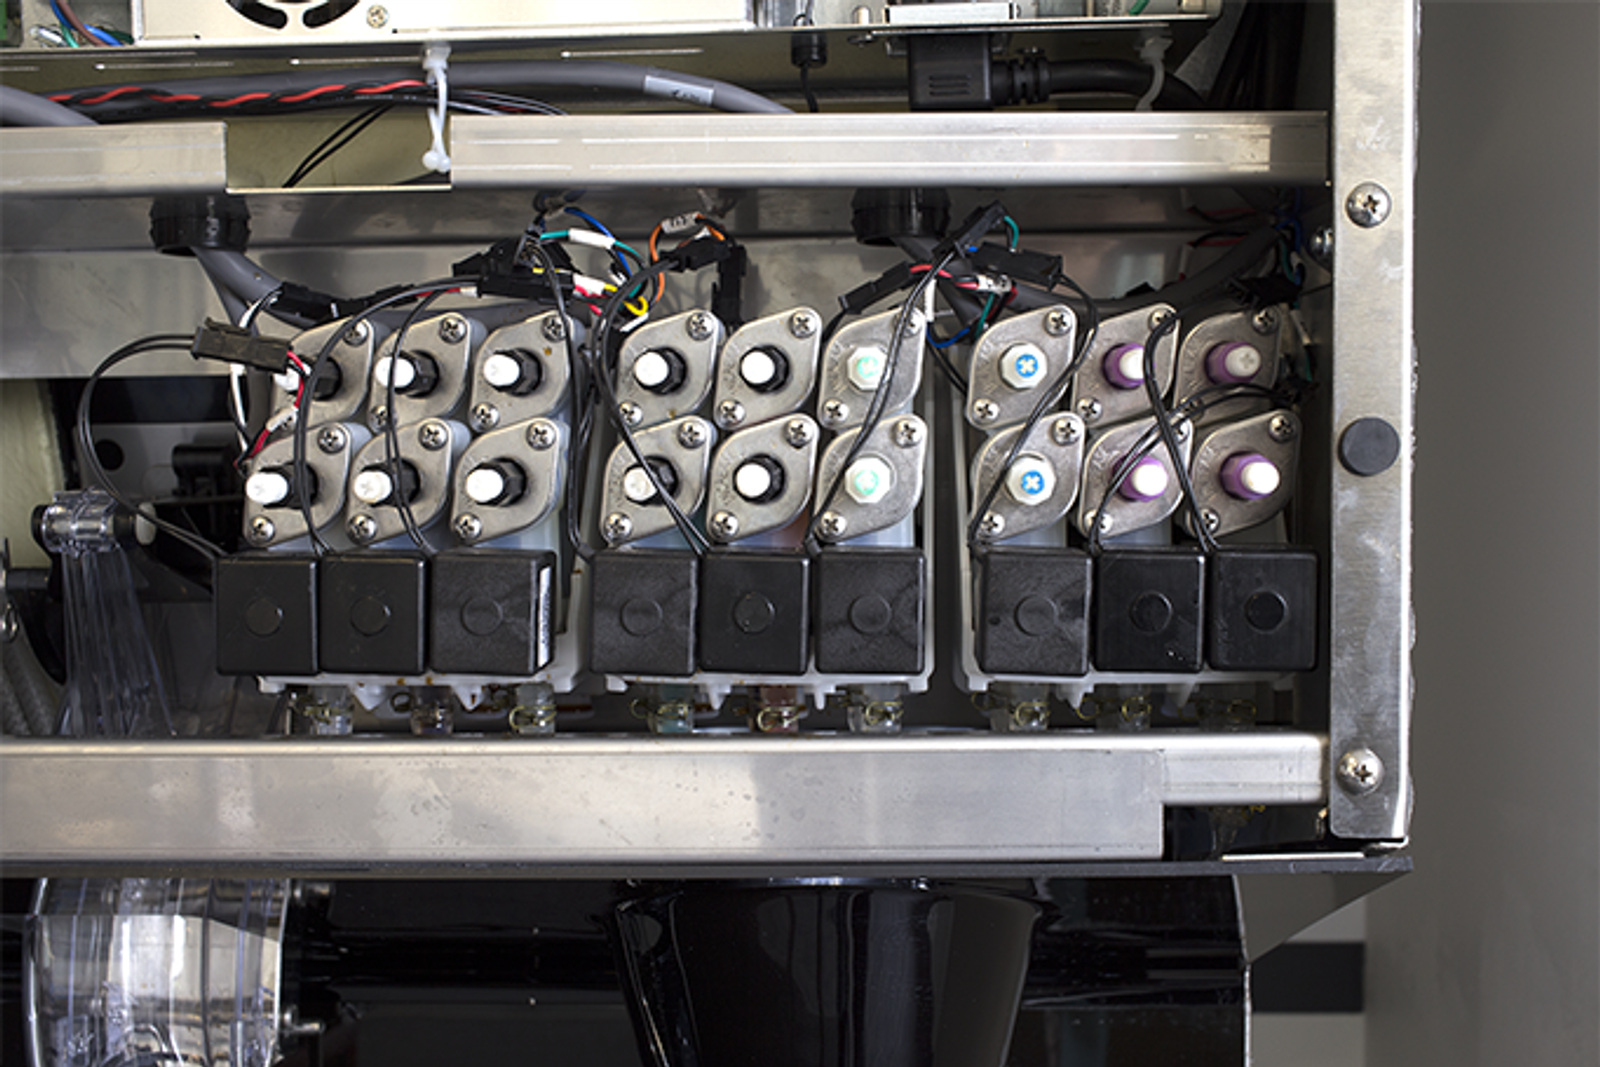
Adjust Flow Control
Adjust the flow control as needed by turning clockwise for more water, or counterclockwise for less water. Repeat for CW3, PW1 and PW3.
-
Continue to Set Water Valve Flow
Set CW2, CW4, PW2 and PW4 to 3 oz. by following these steps:
- Place a brixing cup under the nozzle you are dispensing from.
- Press the button corresponding to CW2, and fill the center of the brixing cup to 3 oz. Adjust flow control as needed by turning clockwise for more water or counterclockwise for less water.
- Repeat for CW4, PW2 and PW4.

-
Set Syrup Valves
It is recommended to set the syrup valves to manufacturer specifications. Use the same brix cup as you did for the water valves. Place the brixing cup under the nozzle you are dispensing from and dispense into the correct portion of the cup that is specific for the syrups ratio.
Start with the A1 button on the left and fill the correct brix chamber of the brixing cup to the same level as the water. Adjust the A1 valve as needed by turning clockwise for more syrup, and counterclockwise for less syrup. Again, buttons on the screen match the layout of the valves on the machine.

-
Steady Brix Cup
Helpful Tip: Use your hand or finger to steady the brix cup against the gray dispensing nozzle to keep it steady when the syrup is dispensing.

-
Repeat Steps for All Valves
Repeat the previous step for all left valves: A2, A3, S1, S2, S3, S4, S5, S6 & S7.
Then do same for Right Valves for syrup: A4, A5, A6, S8, S9, S10, S11, S12, S13, S14.
