
Brand Mapping
IDC Pro Pocket Guide — Operation — Technician's Level Menu: Service Level 3
-
Access Brand Mapping
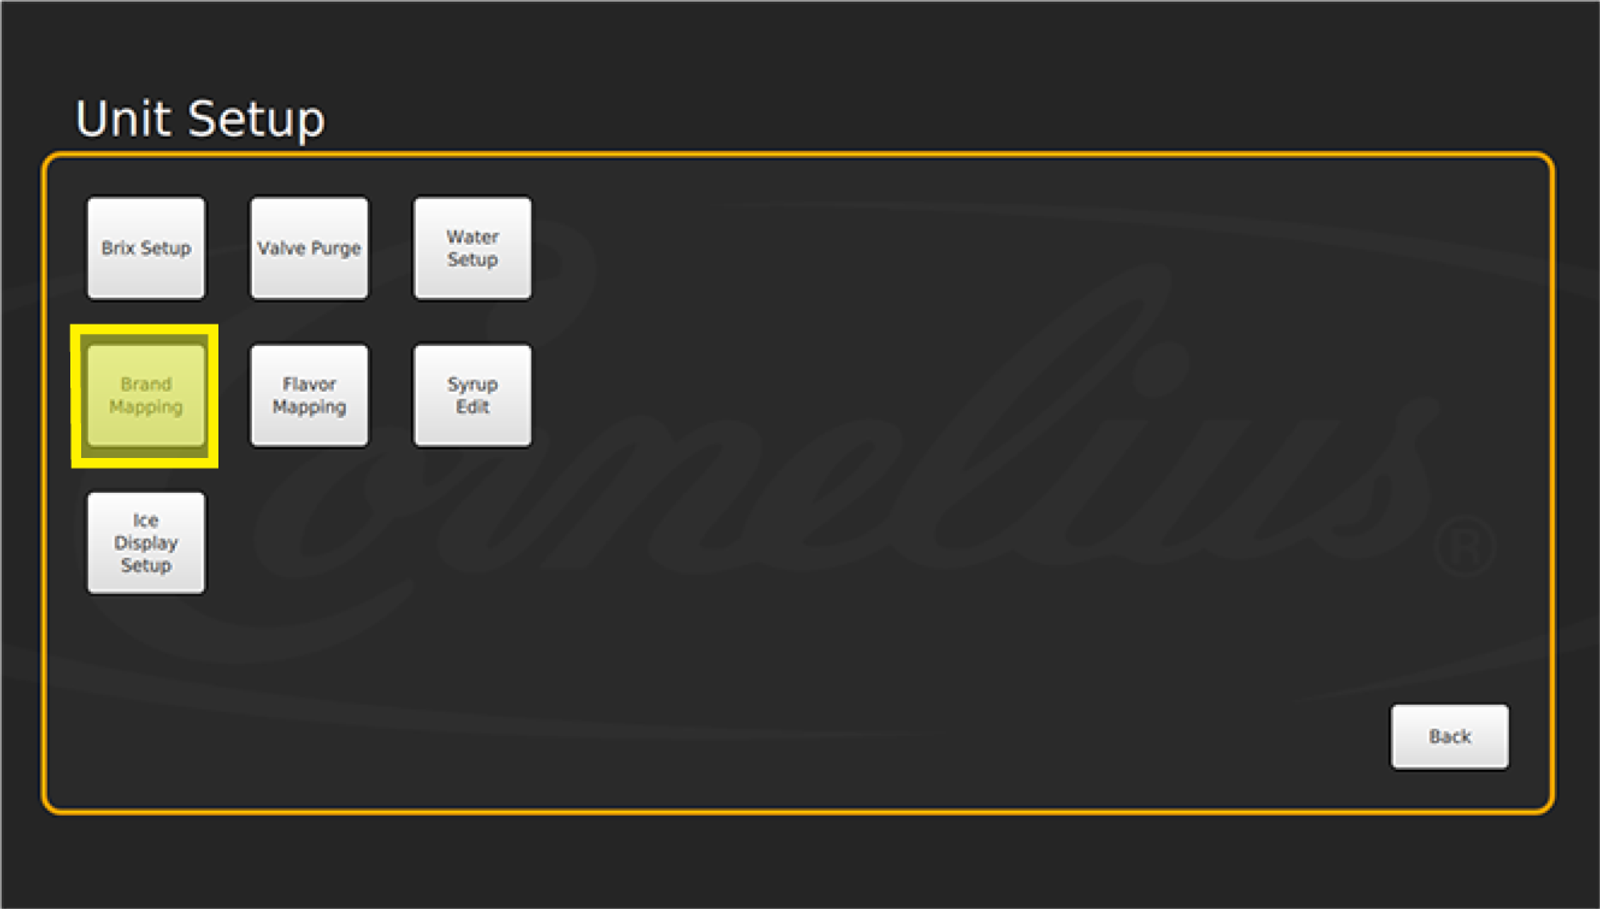
To assign a brand-specific icon to each specific valve, select Brand Mapping in the Unit Setup screen, which will then show the current brands displayed on your IDC Pro.
-
Select Side
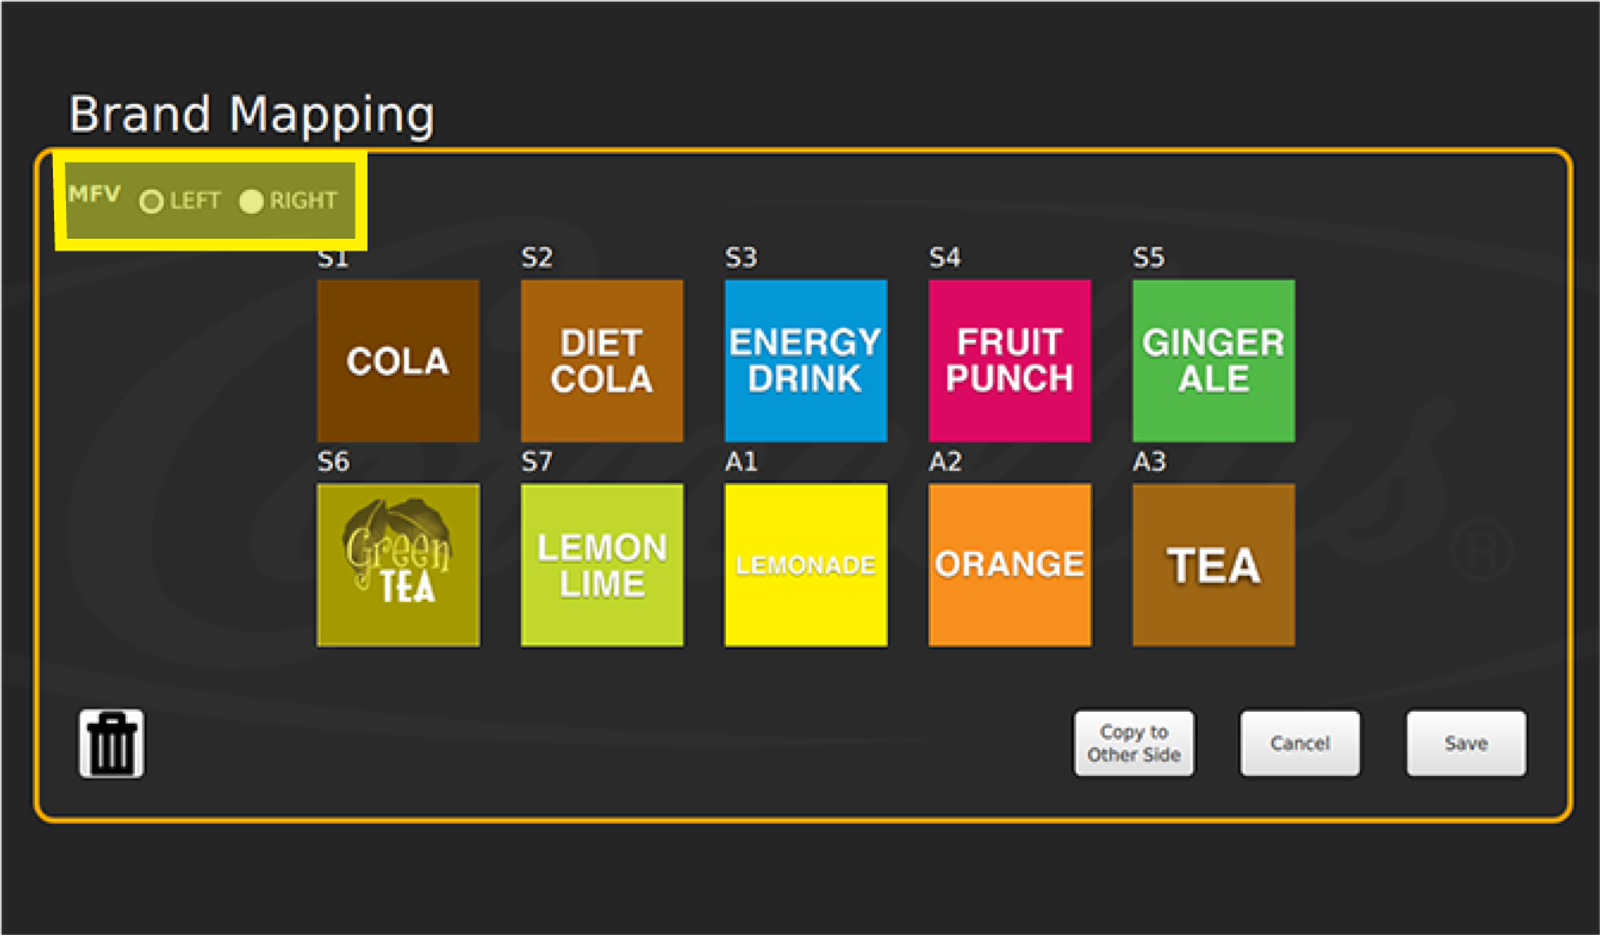
First, select the side of the IDC Pro you would like to edit by selecting Left or Right in the upper left-hand side of the screen. In this example, the left valve is being edited.
-
Use Brand Map
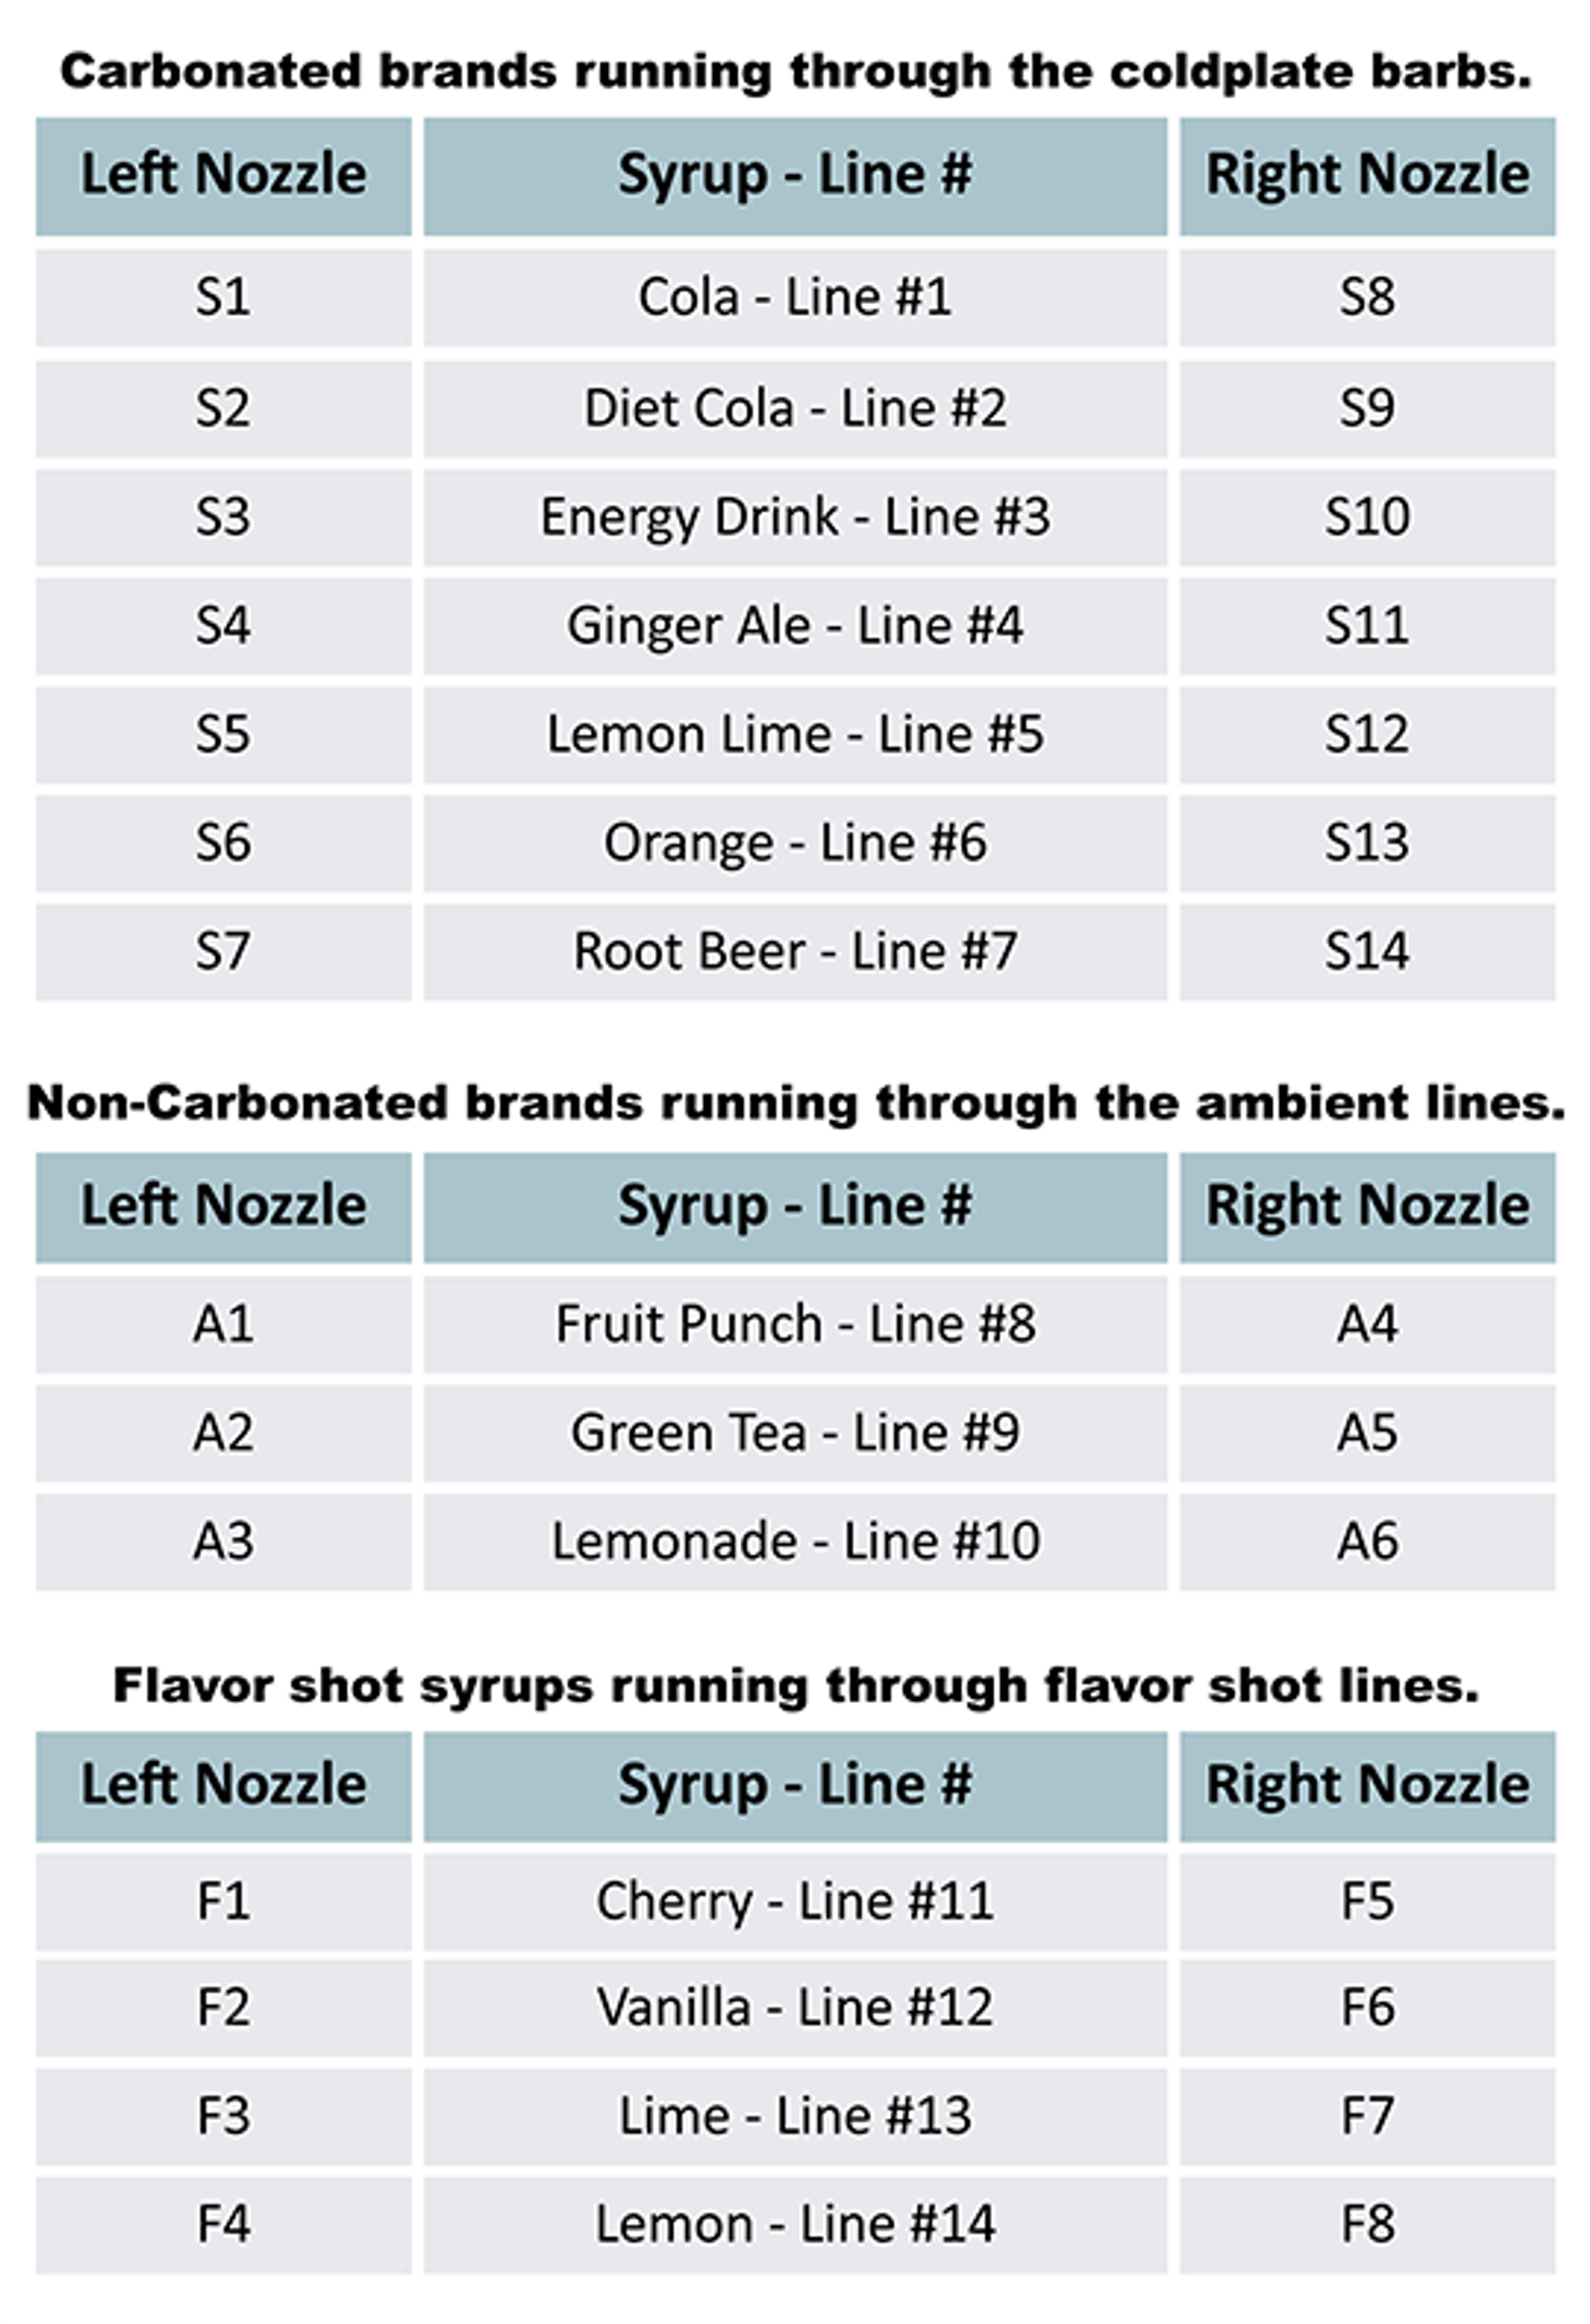
Use the brand map to assign brand icons to the correct valve. For example, “Cola” is connected to line S1, and Diet Cola is connected to S2. If it is not known which syrup line a brand is plumbed to, contact your installer for this information prior to making edits.
(Details on next page.)
-
Brand Map Example
-
Adding a New Brand
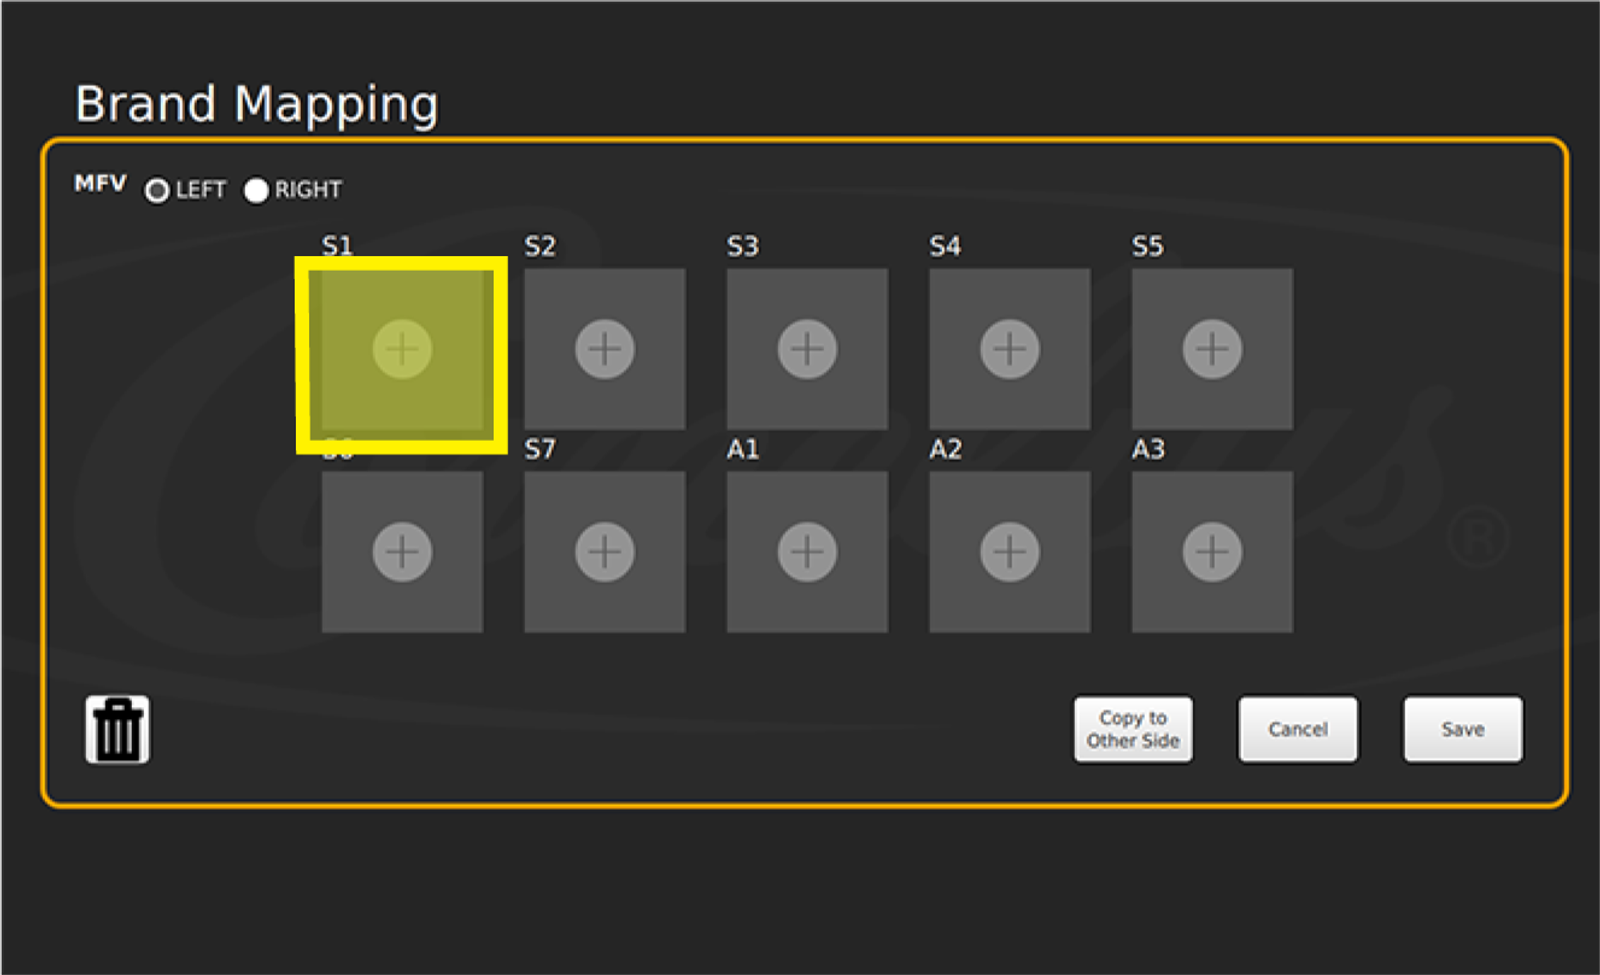
To add a new brand, select the Plus Sign “+” under the valve to assign its icon. The Brand Library will appear after the “+” is selected. Select the correct icon from the Brand Library. In this example, the Cola brand icon is being tied to syrup line S1.
To change a brand that is already programmed tap on the brand icon you are changing and select the new brand icon from the library. Remember to check the brix / ratio after changing brands. See Brix Setup.
-
Brand Artwork
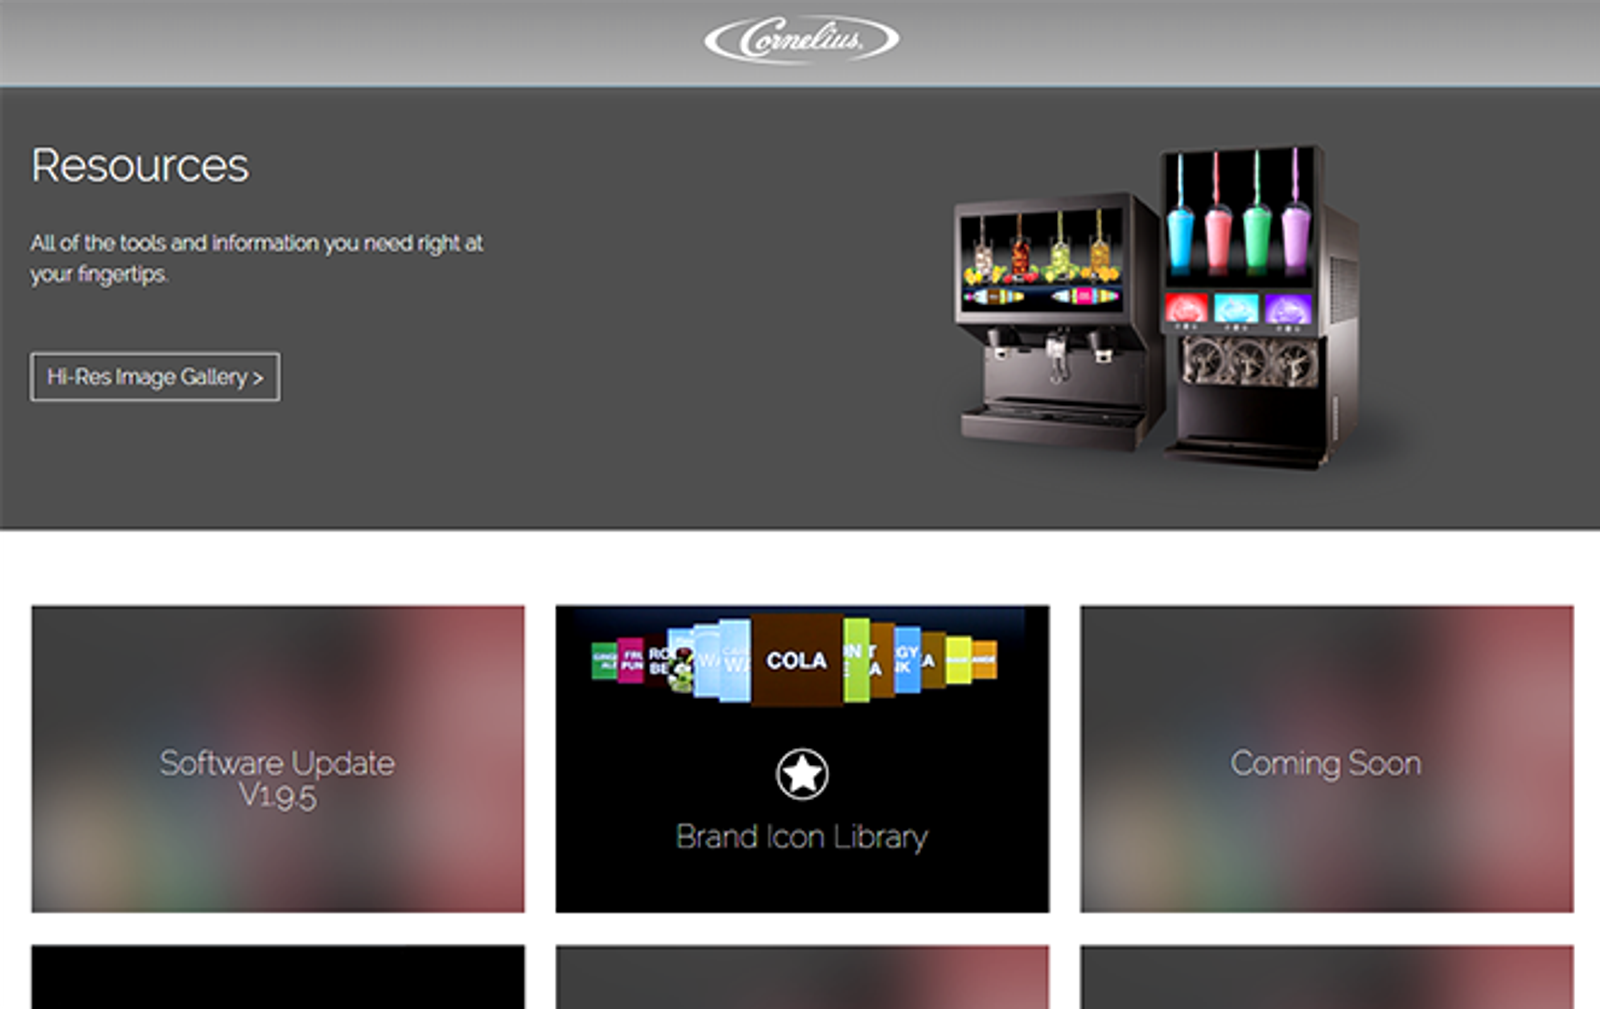
Remember that each brand icon is pre-programmed to dispense carbonated or non-carbonated water when selected. If the appropriate artwork is not present, or you need custom graphics created, please reference the brand icon library at: Resources - Cornelius USA
-
Map Other Side
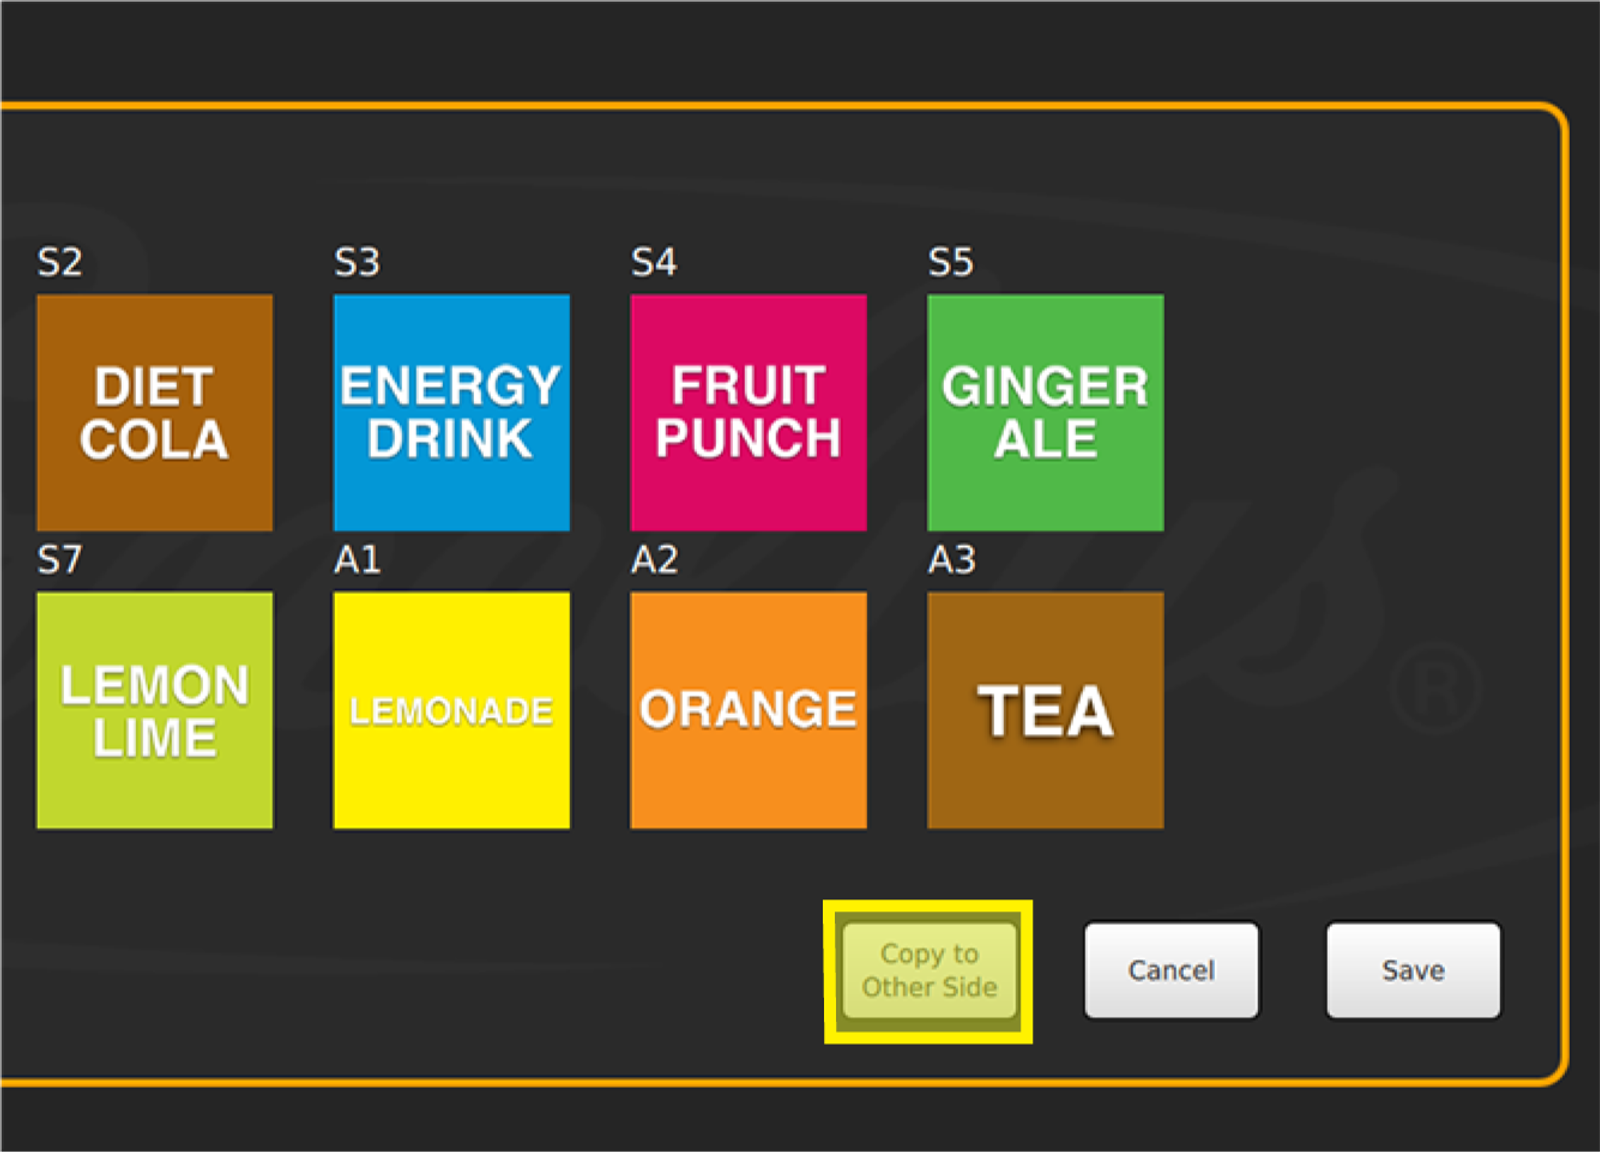
To map the other valve (the right valve in this example) with the same syrup brand icon settings and layout as the left valve, select Copy to Other Side.
Once you have added the appropriate icon to all active valves, select Save.
